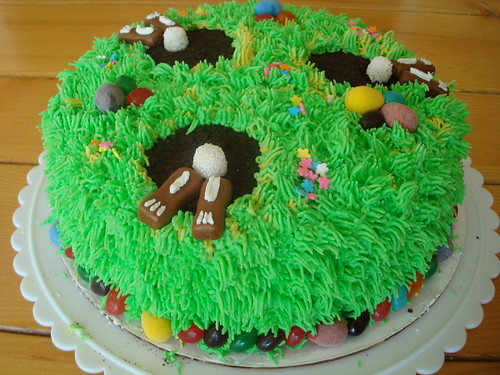
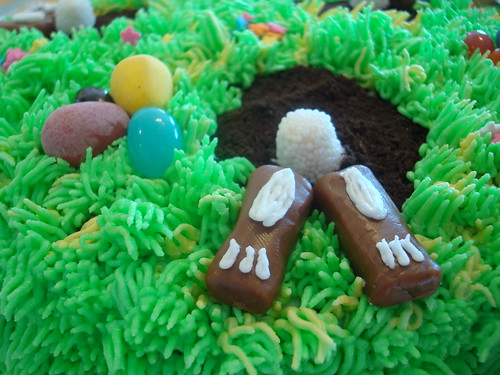
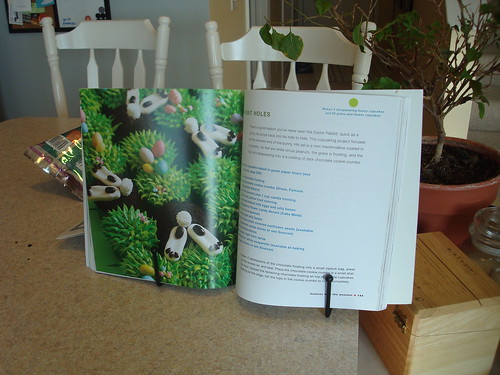
I found inspiration here again for Easter!
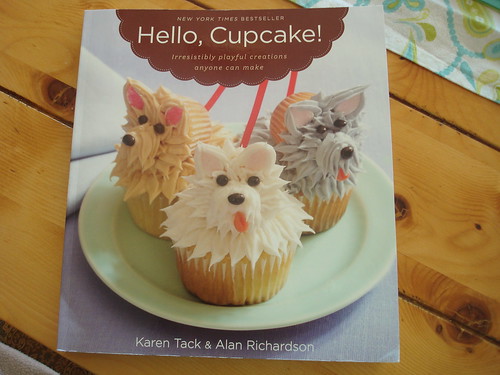
Specifically on this page....how could I resist?
But instead of cupcakes, I tweaked it a little and made a cake!
And I couldn't find circus peanuts for the bunny's feet, so I used tootsie rolls.
Thursday, April 8, 2010
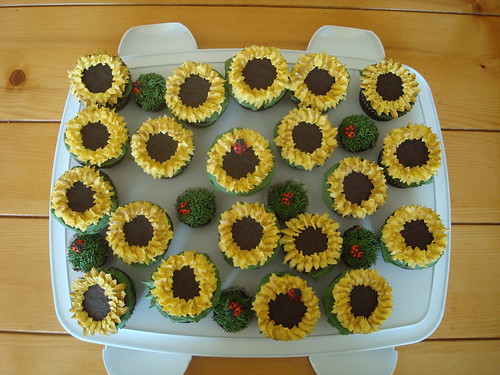
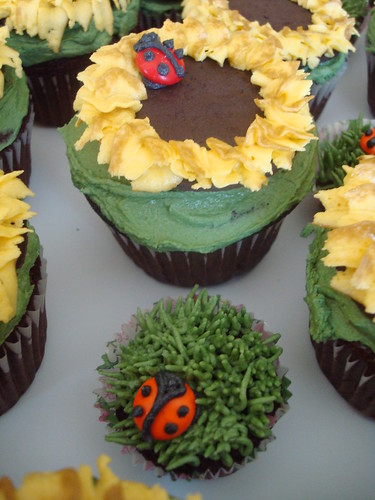
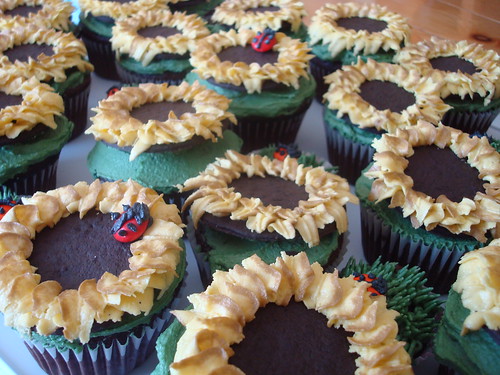
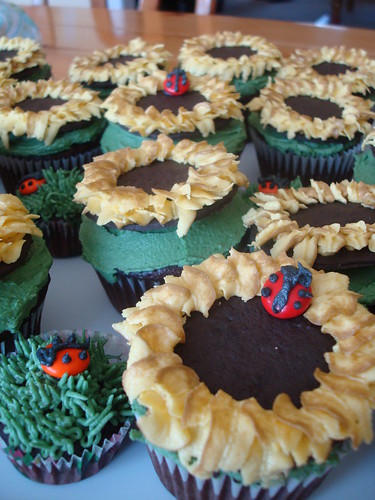
Sarah's Sunflower Birthday Cupcakes
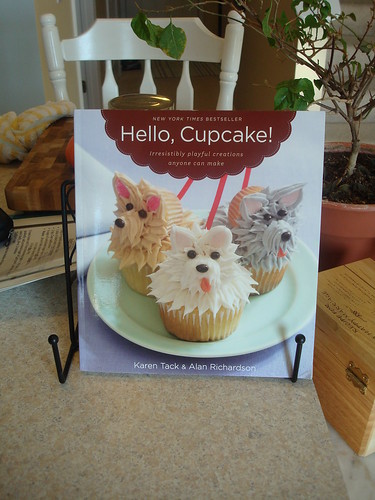
For Sarah's birthday I drew inspiration from one of my favorite Christmas presents:
Sarah loves Sunflower, so this was an obvious choice.
I'm not 100% sure how she feels about ladybugs, but they were too cute to leave out!
I made some of the cupcakes miniature and covered them with "grass" to add some dimension and interest.
And I added just a touch of brown icing in with the yellow to make the petals more realistic.
Sarah loves Sunflower, so this was an obvious choice.
I'm not 100% sure how she feels about ladybugs, but they were too cute to leave out!
I made some of the cupcakes miniature and covered them with "grass" to add some dimension and interest.
And I added just a touch of brown icing in with the yellow to make the petals more realistic.
Monday, February 15, 2010
How to Make a Filled Cupcake
So you've filled your pans, baked the cupcakes, let them cool and your house smells like heaven. Have you decided how you want to decorate your cupcakes yet?
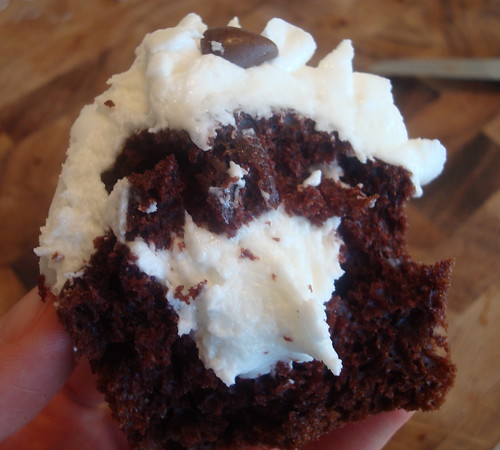
May I suggest an easy variation on the theme? One that provides a little surprise for the lucky recipient? Fill them with frosting!
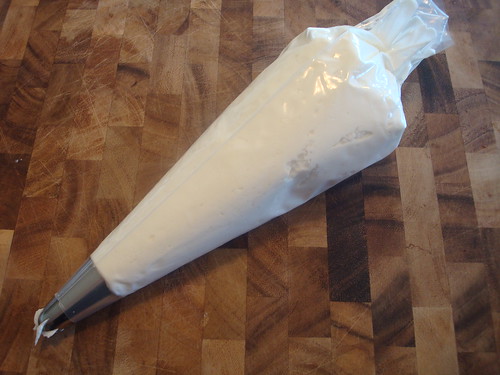
You'll need a piping bag and a decorative tip. You don't need a decorative tip for the filling in the cupcakes, but since I am filling the cupcakes with the same frosting I am decorating them with, I used the same bag & tip for the whole thing.
The tip I used is over-sized. It is a Wilton 2D.
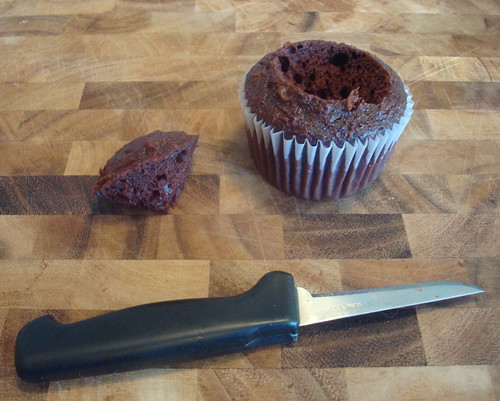
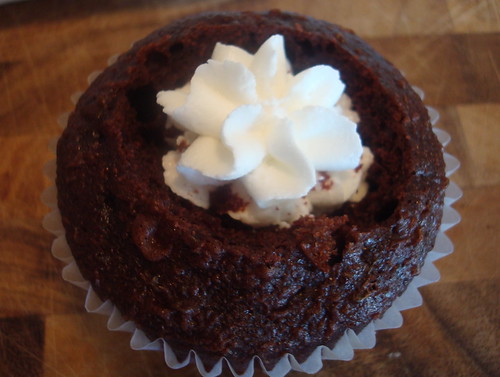
Take a small sharp paring knife and cut a cone shape from the top of your cupcake. It should be fairly deep (half the depth of your cupcake). Make sure your cupcake is completely cooled before you do this or you will create for yourself a mess of crumbs.
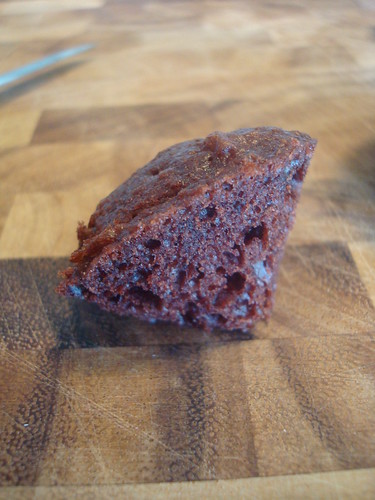
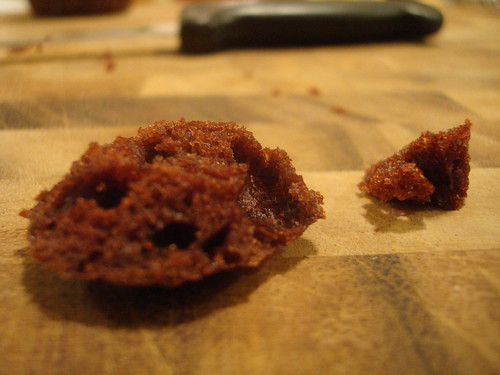
Turn the cone on its top and slice the tip off so it has a nice flat bottom. Go ahead and eat what you just cut off. You won't need it later and you deserve a taste.
Now put your piping tip into the hole you created and fill that cupcake up!
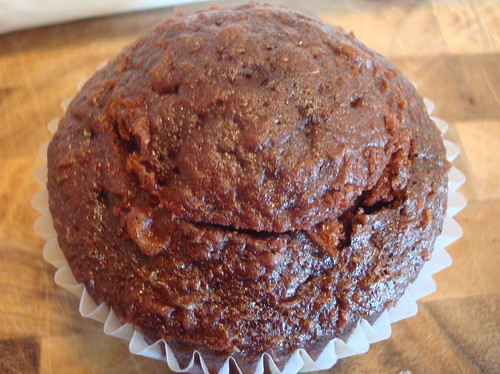
Then put your cap back on.
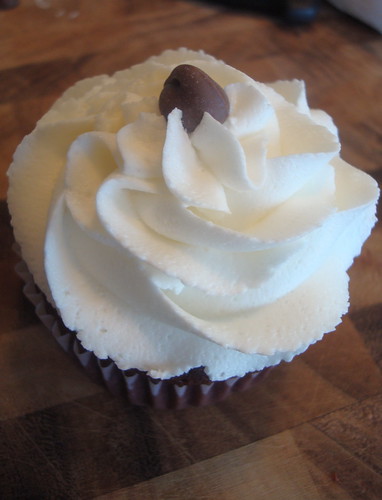
Add your frosting to the top. Using the piping bag to frost a filled cupcake is the best way to go because it will not pull and tug at the loose cupcake cap the same way a spatula might if you were to baste the cupcake.
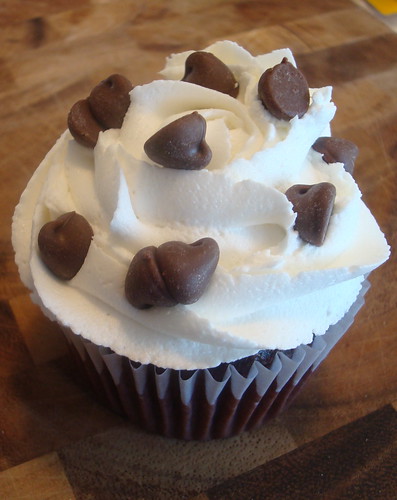
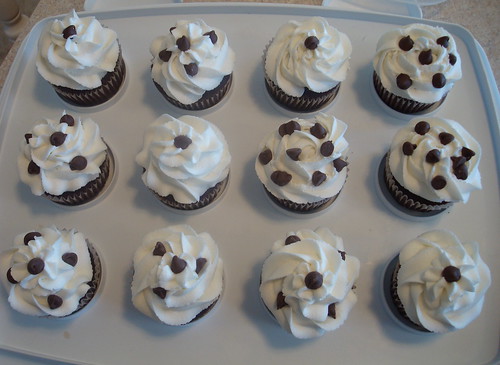
Add some decorations of your choice.
Or a lot of them, if you want to.
No one will know there is a delicious surprise inside unless you draw inspiration from a famous filled cupcake. That might give them a little hint.
Now make sure you practice your most humble "thank you".
You put in a little bit of work for a big impact and your cupcakes are going to be a hit!
May I suggest an easy variation on the theme? One that provides a little surprise for the lucky recipient? Fill them with frosting!
You'll need a piping bag and a decorative tip. You don't need a decorative tip for the filling in the cupcakes, but since I am filling the cupcakes with the same frosting I am decorating them with, I used the same bag & tip for the whole thing.
The tip I used is over-sized. It is a Wilton 2D.
Take a small sharp paring knife and cut a cone shape from the top of your cupcake. It should be fairly deep (half the depth of your cupcake). Make sure your cupcake is completely cooled before you do this or you will create for yourself a mess of crumbs.
Turn the cone on its top and slice the tip off so it has a nice flat bottom. Go ahead and eat what you just cut off. You won't need it later and you deserve a taste.
Now put your piping tip into the hole you created and fill that cupcake up!
Then put your cap back on.
Add your frosting to the top. Using the piping bag to frost a filled cupcake is the best way to go because it will not pull and tug at the loose cupcake cap the same way a spatula might if you were to baste the cupcake.
Add some decorations of your choice.
Or a lot of them, if you want to.
No one will know there is a delicious surprise inside unless you draw inspiration from a famous filled cupcake. That might give them a little hint.
Now make sure you practice your most humble "thank you".
You put in a little bit of work for a big impact and your cupcakes are going to be a hit!
Labels:
cupcake,
decorating,
filling,
frosting,
piping
Sunday, February 7, 2010
How to Fill Cupcake Pans
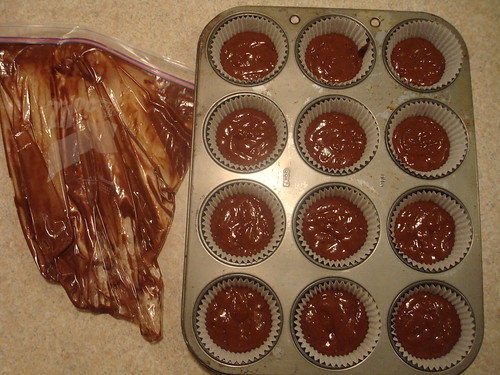
I always have trouble filling cupcake tins. It seems that no matter how careful I am I always end up with batter all over the pan. I've heard more than once to use a giant zip-top freezer bag as if it were a piping bag. I think its a great idea and here's how I do it!
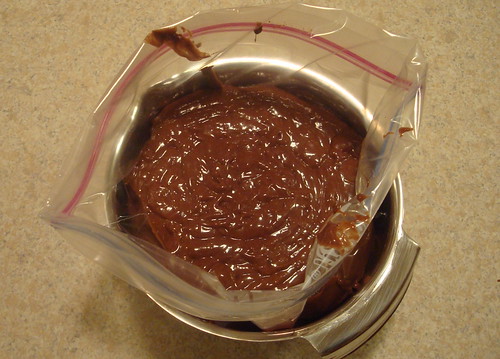
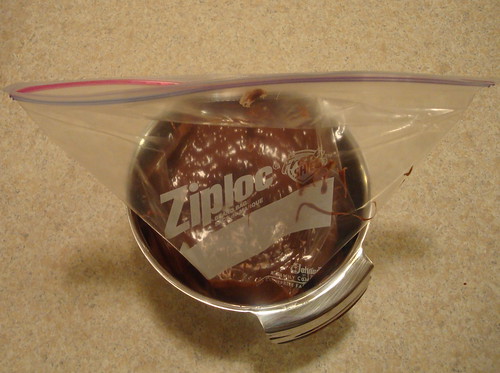
1. Place a 1 gallon zip-top freezer bag inside a bowl and fold the zip top down. The zip-top freezer bag idea is excellent, but getting the batter from the bowl to the bag has been messy in the past for me. Until, that is, I figured out that if I put the bag inside a bowl, it would hold the bag up and open for me, especially once the bag became full of batter. No more bags tipping over and half your batter spilling all over the counter tops! I also fold the zipper top down over itself a few times. This helps the top of the bag keep an open shape. It also helps the integrity of the zipper; when it is folded over it is protected from spills and will have a watertight seal when you are ready to zip it shut.
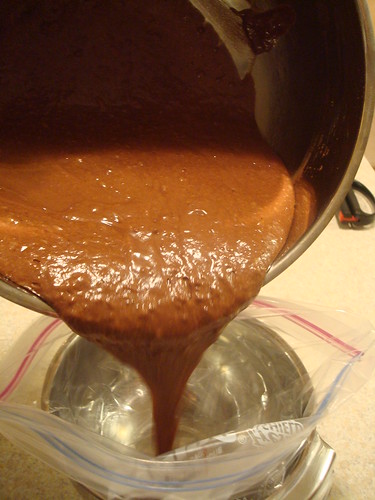
2. Pour your batter into the bag. You will be glad you have that bowl holding your bag upright now because you will have both hands and your undivided attention to make sure all of the batter makes it into the bag.
3. Now you're glad you folded the top over, cause you dribbled anyway. I always do, even when I'm not pouring with one hand and holding the camera with the other. It happens; that's why you folded the top over.
4. Unfold the top, zip it almost all the way together leaving a small space open at one end. With just a small opening left, squeeze the air out the bag, then zip it completely shut. Now's your chance to wipe off the bag if you had any spills, otherwise, you are going to get it all over your hands.
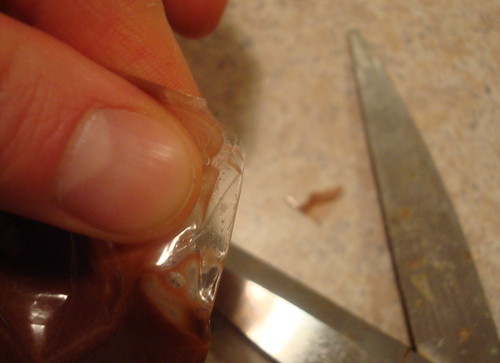
5. Snip a corner. If you sealed your bag properly you can pick it up out of the bowl and tip it upside down, moving the batter away from one of the bottom corners. Pinch the corner and snip just a small amount off, leaving a hole. If the snip is too large, the batter will come pouring out and you'll have no control over it. If the snip is too small the batter will barely come out at all, temping you to squeeze the bag harder, and that's just an accident waiting to happen.
6. Fill your cups. While you are still pinching that end shut, turn the bag right side up and let the batter flow back towards the open end. When you are ready, let go of your pinch and fill the cups. You can pinch the end shut when moving from cup to cup or just time your drips carefully. Squeeze, roll, fold and scrunch your bag to get every little last drop of batter out. Enjoy an easy clean up!
1. Place a 1 gallon zip-top freezer bag inside a bowl and fold the zip top down. The zip-top freezer bag idea is excellent, but getting the batter from the bowl to the bag has been messy in the past for me. Until, that is, I figured out that if I put the bag inside a bowl, it would hold the bag up and open for me, especially once the bag became full of batter. No more bags tipping over and half your batter spilling all over the counter tops! I also fold the zipper top down over itself a few times. This helps the top of the bag keep an open shape. It also helps the integrity of the zipper; when it is folded over it is protected from spills and will have a watertight seal when you are ready to zip it shut.
2. Pour your batter into the bag. You will be glad you have that bowl holding your bag upright now because you will have both hands and your undivided attention to make sure all of the batter makes it into the bag.
3. Now you're glad you folded the top over, cause you dribbled anyway. I always do, even when I'm not pouring with one hand and holding the camera with the other. It happens; that's why you folded the top over.
4. Unfold the top, zip it almost all the way together leaving a small space open at one end. With just a small opening left, squeeze the air out the bag, then zip it completely shut. Now's your chance to wipe off the bag if you had any spills, otherwise, you are going to get it all over your hands.
5. Snip a corner. If you sealed your bag properly you can pick it up out of the bowl and tip it upside down, moving the batter away from one of the bottom corners. Pinch the corner and snip just a small amount off, leaving a hole. If the snip is too large, the batter will come pouring out and you'll have no control over it. If the snip is too small the batter will barely come out at all, temping you to squeeze the bag harder, and that's just an accident waiting to happen.
6. Fill your cups. While you are still pinching that end shut, turn the bag right side up and let the batter flow back towards the open end. When you are ready, let go of your pinch and fill the cups. You can pinch the end shut when moving from cup to cup or just time your drips carefully. Squeeze, roll, fold and scrunch your bag to get every little last drop of batter out. Enjoy an easy clean up!
Monday, January 25, 2010
Put It All Together And What Do You Get?
The last few posts I have shown you how to make a Chain Garland, a Satin Ribbon Garland, Cake Pops and Paper Baskets.
But what I was really showing you, little by little, was how I was pulling together a small dinner party for some very special friends.
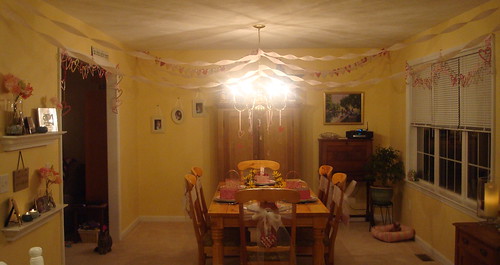
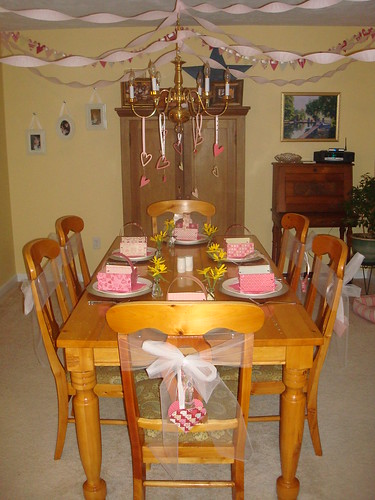
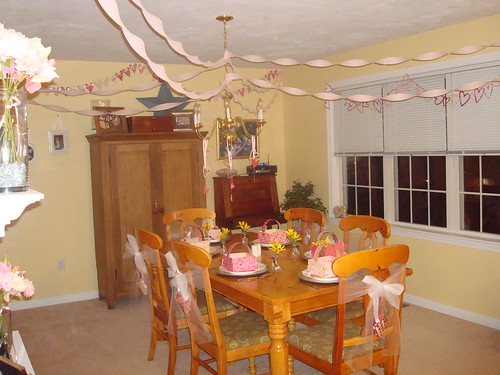
Put them all together (with a few extra touches) and this is what you get:


But what I was really showing you, little by little, was how I was pulling together a small dinner party for some very special friends.
Put them all together (with a few extra touches) and this is what you get:

I added some crepe paper, some small hearts hanging from ribbons on the chandelier and some white tulle and colorful ribbon on the chairs. Then I set the table with the paper baskets for the Valentine exchange.

All in all, this whole room transformation was made with one pack of scrapbook paper, ribbon and tape. I added small embellishments like crepe paper and pink party napkins, but overall, the decorations and food were made by me.
The whole space cost me less than $30 dollars and it created a mood and theme, welcomed my guests and made them feel as though I had gone out of my way just for them.
Sunday, January 24, 2010
Cake Pops
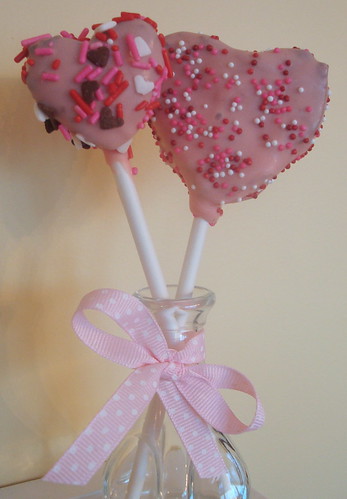
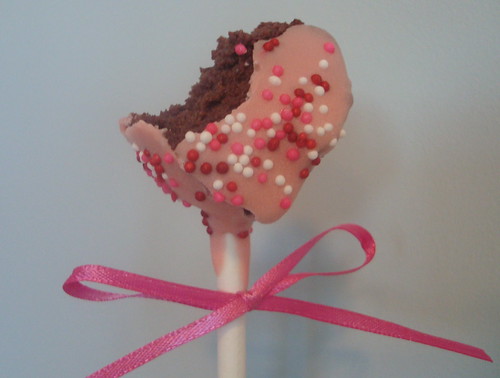
I told you earlier about Bakerella's blog and even about her S'mores Cupcakes. But this is her signature item, the one the blogging world knows her for... and I had much better results trying my hand at her creations this time around!
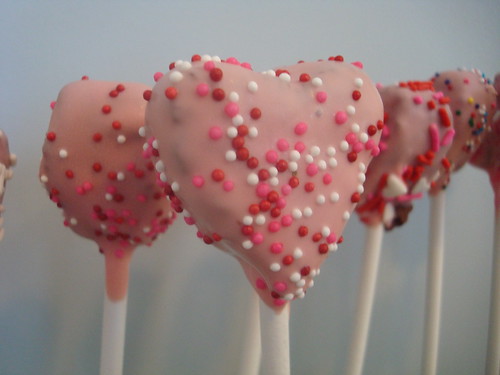
Welcome to the world of Cake Pops! You're welcome!

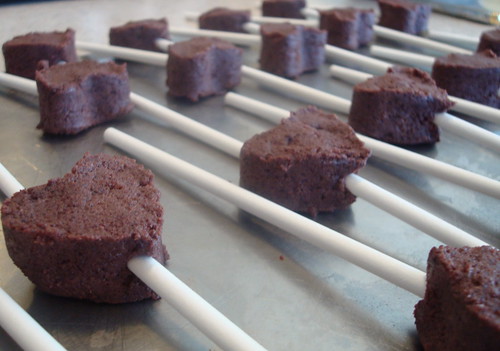
For instructions on how Bakerella makes cake pops, head on over here to her original cake pop recipe.
But don't stop there!! She has made cake pops in all kind of shapes, colors and for many reasons. Do the right thing and check them all out- some of her later posts offer updated tips and were really helpful for inspiration and little logistical directions!
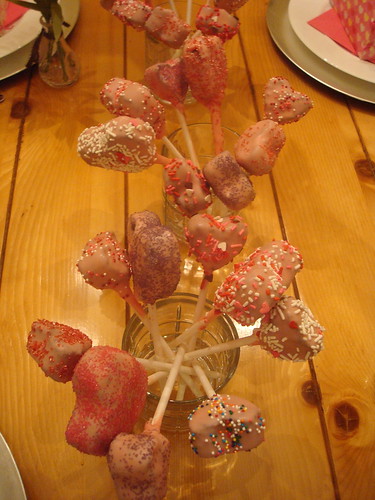
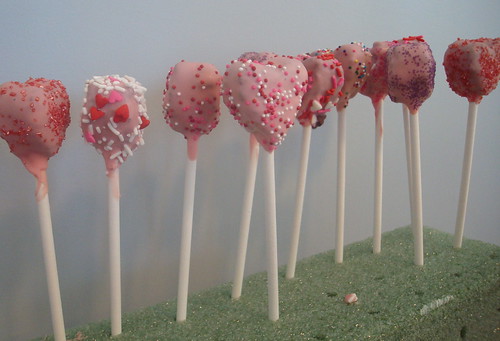
Now you can see why that foam block is so necessary. How else would you dry these things? I bought only one block and was a little concerned that they wouldn't hold all the pops. Well, it didn't hold all of the cake pops at once, but the candy coating dries fast enough that you can swap them out pretty much as you make them, so no worries there!

Welcome to the world of Cake Pops! You're welcome!

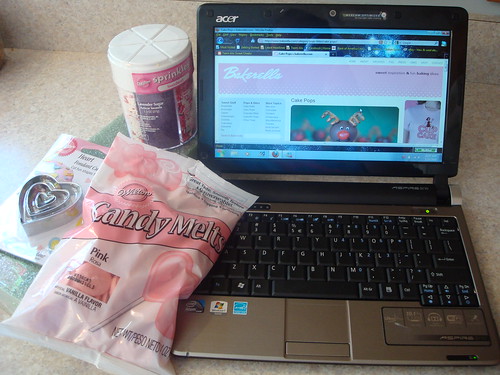
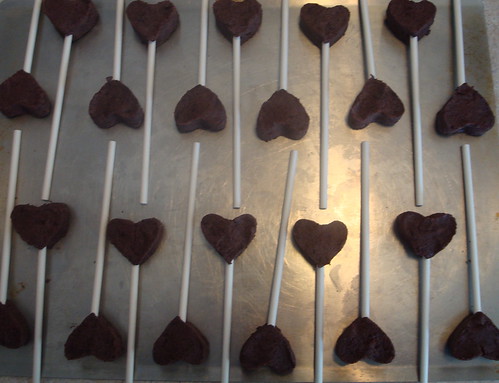
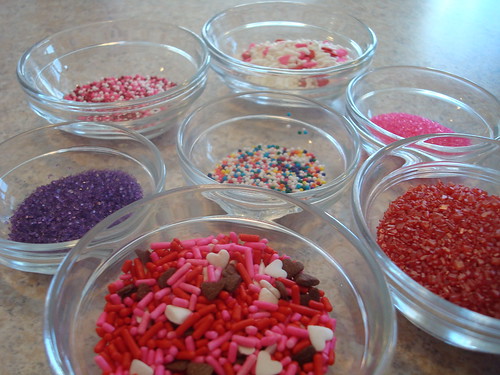
Some of the items I needed to get started I had on hand (boxed cake mix, can of frosting), but some I had to purchase - like candy melts and teeny tiny cookie cutters to make my cake pops heart shaped. And the foam block is essential, so don't skip out on that!
For instructions on how Bakerella makes cake pops, head on over here to her original cake pop recipe.
But don't stop there!! She has made cake pops in all kind of shapes, colors and for many reasons. Do the right thing and check them all out- some of her later posts offer updated tips and were really helpful for inspiration and little logistical directions!
Now you can see why that foam block is so necessary. How else would you dry these things? I bought only one block and was a little concerned that they wouldn't hold all the pops. Well, it didn't hold all of the cake pops at once, but the candy coating dries fast enough that you can swap them out pretty much as you make them, so no worries there!

Her advice to use small amounts of the candy melts at a time is great- the candy hardens again pretty quickly so it is much easier to work with small batches. It can also be re-melted so if the bottom of your cup starts to harden or its just time to melt more candies, you can just pop the whole thing back in the microwave and give it a good stir.
Making Paper Baskets
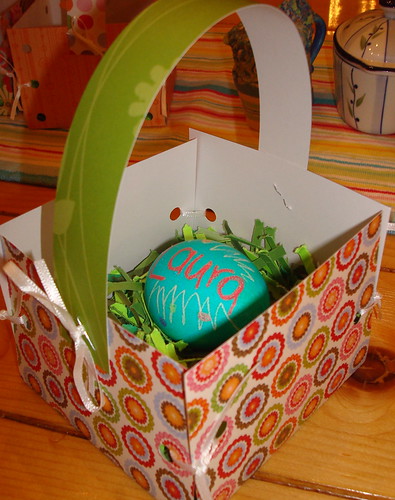
You may have noticed these in the flickr slide show on my sidebar. They are paper baskets that I made for Easter last year; to dress the table, act as a place card, and an Easter basket to hold yummy treats for my guests.
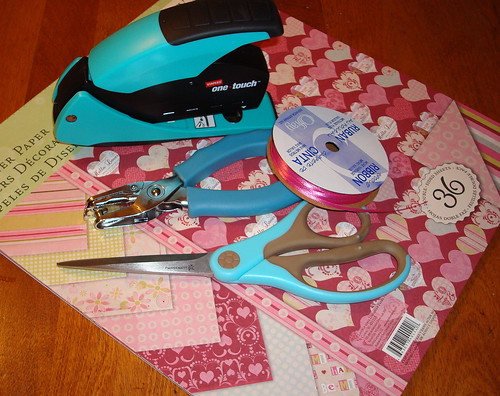
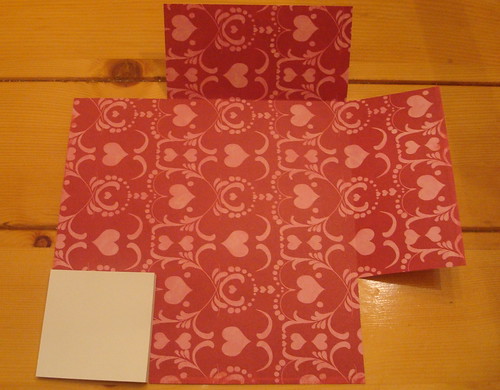
I made them again to collect valentines for friends, so I thought I'd show you how easy it is to make them! You will need paper, scissors, hole punch, stapler, ribbon and a ruler or small square tracer (not shown).
I used a square pack of sticky notes to measure the square I needed to cut out from each corner. The paper I used was 12" x 12" double sided scrapbook paper and I used a 3" x 3" pack of stickies. This made my finished basket 6" x 6".
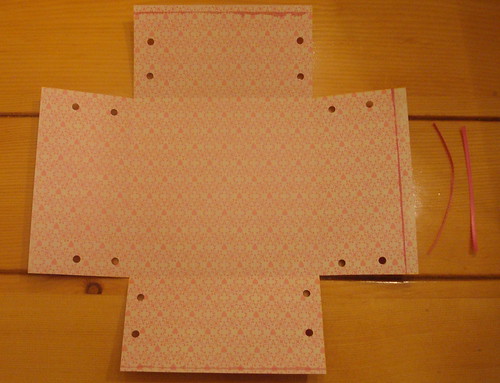
Next, use your hole punch to put holes in each of the sides. This is how you will pull the sides together. In the very first picture you can see that I only made one hole on each side, but in the background you can see another basket where I used three holes. It doesn't matter how many holes you make, as long as there are the same number on each side!
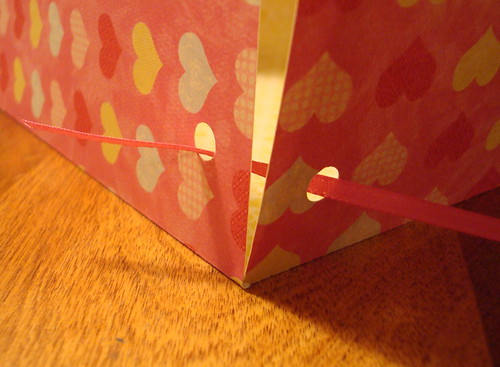
Cut a length of ribbon for each hole. Then fold each side in towards the middle. Thread the ribbon through the matching holes....
...and tie them to hold the sides together.
Cut a length of paper for the handle and staple it on. You could also make 2 holes here and tie it on with more ribbon, or staples the ribbon on and tie a bow. Be creative!
And there you have it! Paper baskets that dress up your table that are just waiting to be filled with valentines!
For a more shallow or deep basket: change the size of the square you cut out from each corner.
*For a deeper basket (taller sides) make the square larger. This will make the bottom of your basket smaller.
*For a shallower basket (shorter sides) make the square smaller. This will make the bottom of your basket larger.
For a rectangular basket: start with rectangular paper. You will still need to cut a square from the corners, as this shape ensures the sides will be the same height when you fold them up and tie them together.
I made them again to collect valentines for friends, so I thought I'd show you how easy it is to make them! You will need paper, scissors, hole punch, stapler, ribbon and a ruler or small square tracer (not shown).
I used a square pack of sticky notes to measure the square I needed to cut out from each corner. The paper I used was 12" x 12" double sided scrapbook paper and I used a 3" x 3" pack of stickies. This made my finished basket 6" x 6".
Next, use your hole punch to put holes in each of the sides. This is how you will pull the sides together. In the very first picture you can see that I only made one hole on each side, but in the background you can see another basket where I used three holes. It doesn't matter how many holes you make, as long as there are the same number on each side!
Cut a length of ribbon for each hole. Then fold each side in towards the middle. Thread the ribbon through the matching holes....
...and tie them to hold the sides together.
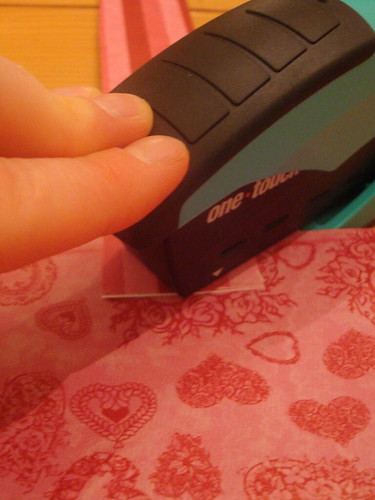
Cut a length of paper for the handle and staple it on. You could also make 2 holes here and tie it on with more ribbon, or staples the ribbon on and tie a bow. Be creative!
And there you have it! Paper baskets that dress up your table that are just waiting to be filled with valentines!
For a more shallow or deep basket: change the size of the square you cut out from each corner.
*For a deeper basket (taller sides) make the square larger. This will make the bottom of your basket smaller.
*For a shallower basket (shorter sides) make the square smaller. This will make the bottom of your basket larger.
For a rectangular basket: start with rectangular paper. You will still need to cut a square from the corners, as this shape ensures the sides will be the same height when you fold them up and tie them together.
Subscribe to:
Posts (Atom)