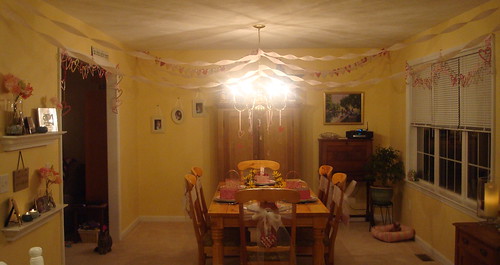
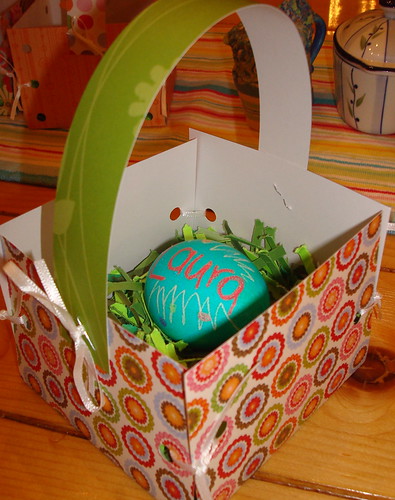
You may have noticed these in the flickr slide show on my sidebar. They are paper baskets that I made for Easter last year; to dress the table, act as a place card, and an Easter basket to hold yummy treats for my guests.
I made them again to collect valentines for friends, so I thought I'd show you how easy it is to make them!
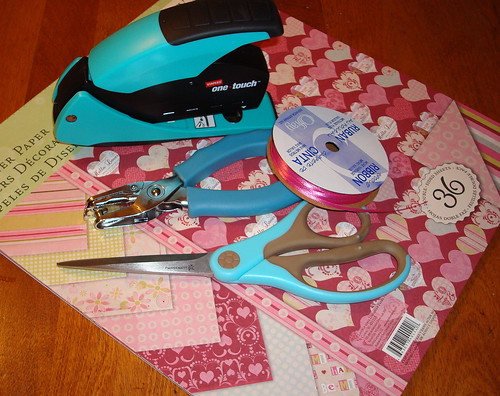
You will need paper, scissors, hole punch, stapler, ribbon and a ruler or small square tracer
(not shown).
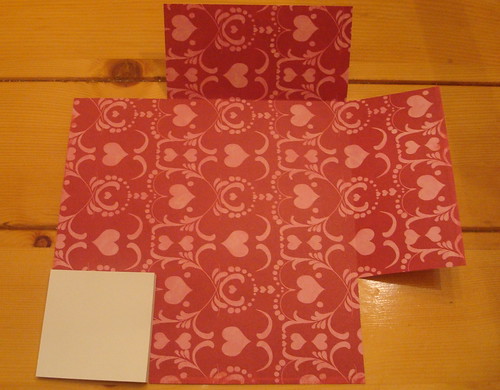
I used a square pack of sticky notes to measure the square I needed to cut out from each corner. The paper I used was 12" x 12" double sided scrapbook paper and I used a 3" x 3" pack of stickies. This made my finished basket 6" x 6".
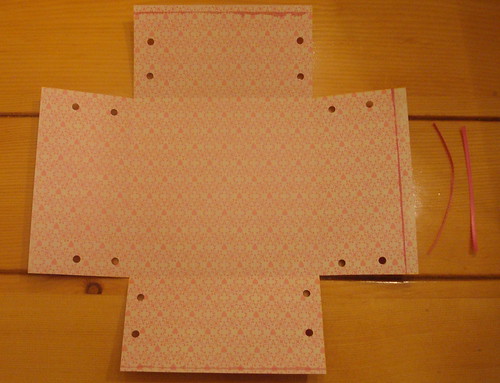
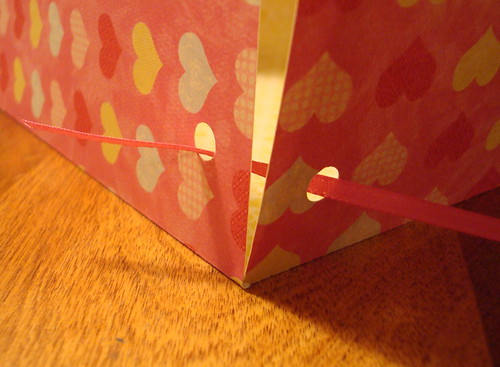
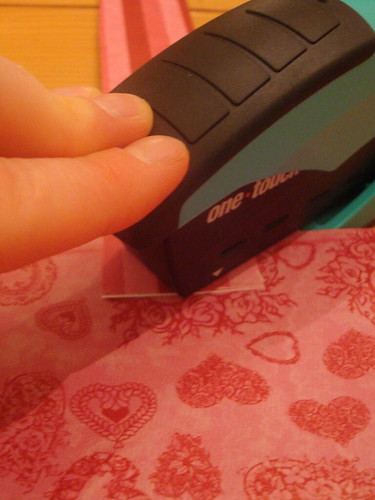
Next, use your hole punch to put holes in each of the sides. This is how you will pull the sides together. In the very first picture you can see that I only made one hole on each side, but in the background you can see another basket where I used three holes. It doesn't matter how many holes you make, as long as there are the same number on each side!
Cut a length of ribbon for each hole. Then fold each side in towards the middle. Thread the ribbon through the matching holes....
...and tie them to hold the sides together.
Cut a length of paper for the handle and staple it on. You could also make 2 holes here and tie it on with more ribbon, or staples the ribbon on and tie a bow. Be creative!
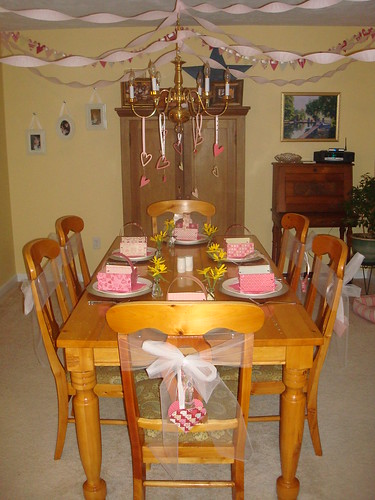
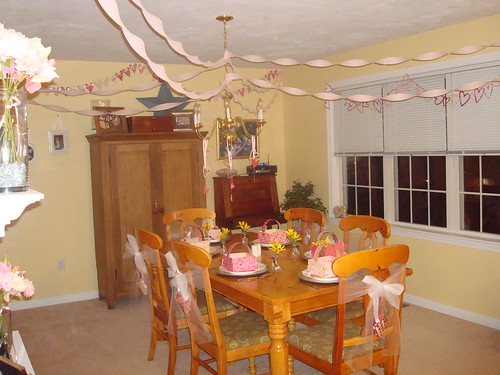
And there you have it! Paper baskets that dress up your table that are just waiting to be filled with valentines!
For a more shallow or deep basket: change the size of the square you cut out from each corner.
*For a deeper basket (taller sides) make the square larger. This will make the bottom of your basket smaller.
*For a shallower basket (shorter sides) make the square smaller. This will make the bottom of your basket larger.
For a rectangular basket: start with rectangular paper. You will still need to cut a square from the corners, as this shape ensures the sides will be the same height when you fold them up and tie them together.