Showing posts with label cake. Show all posts

Saturday, January 22, 2011

Cody's First Birthday Cake

Today is our friend Cody's very first birthday party. He turned one yesterday and his sweet mommy asked me to make his cake!

She gave me free reign for design but mentioned that Cody reminds her of a little koala.

And she wanted one cake to cut...

Cody's 1st Birthday Cake

9" vanilla cake with vanilla frosting
The colors in the picture below are the most true to life.


Cody's 1st Birthday Cake

some cupcakes for the kiddos

Cody's 1st Birthday Cake

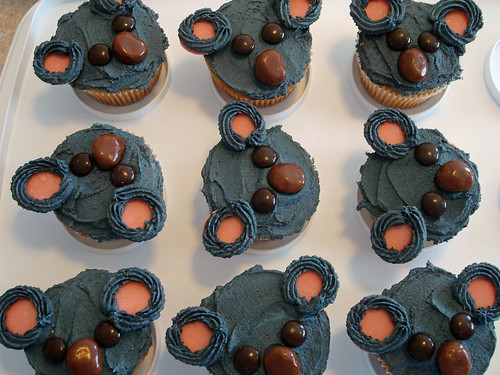
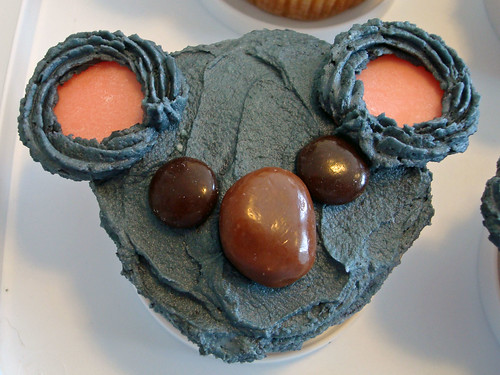
Vanilla cupcakes with vanilla frosting.
The ears are pink candy melts, the eyes are brown m&m's
and the noses are milk duds.


Cody's 1st Birthday Cake

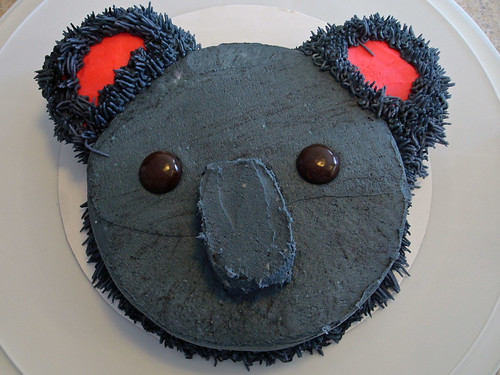
and a smash cake for Cody.

Cody's 1st Birthday Cake

6" round vanilla cake with vanilla frosting.
The ears and nose are shaped cupcakes
and the eyes are junior mints.

Sunday, October 17, 2010

Kayleen's Wedding Cake

A dear friend of my sister-in-law's got married yesterday and I was fortune enough to be asked to do her wedding cake!!

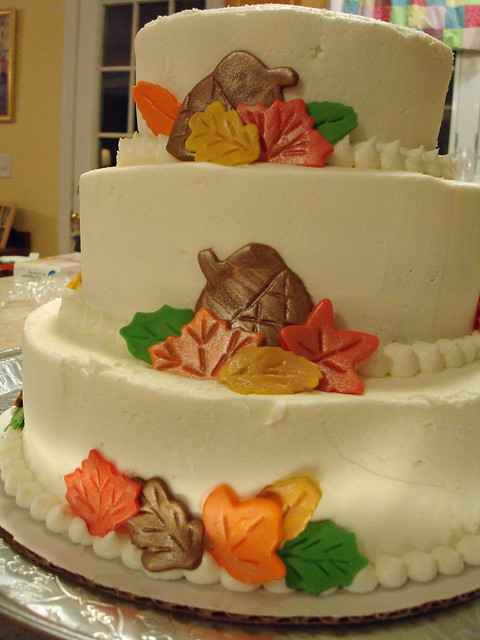
Kayleen's wedding cake Oct 2010

The bride added her own cake topper, which she described to me as a gold wire tree with fall colored crystals for leaves. That sounds really pretty and very unique!

There were a couple of firsts for me in this cake, but I think they turned out well and i was pleased with the end result.

Kayleen's wedding cake Oct 2010

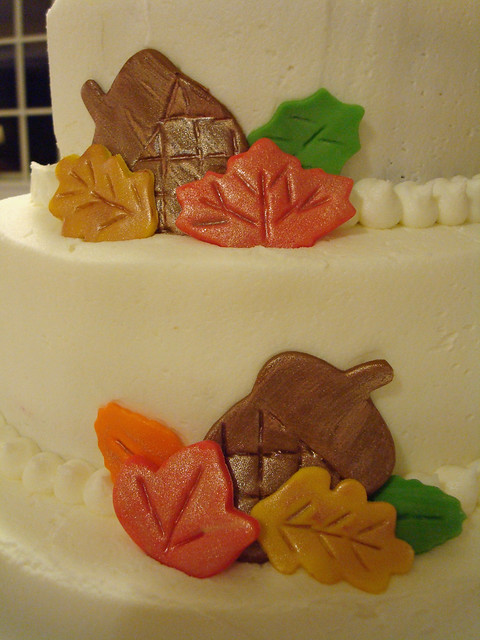
This was my first three tiered cake and my first attempt at using fondant.

Kayleen's wedding cake Oct 2010

I brushed the fondant with copper edible glitter to dress it up a little more for a special fall wedding. I also thought the shimmer might go along with the cake topper.

Kayleen's wedding cake Oct 2010

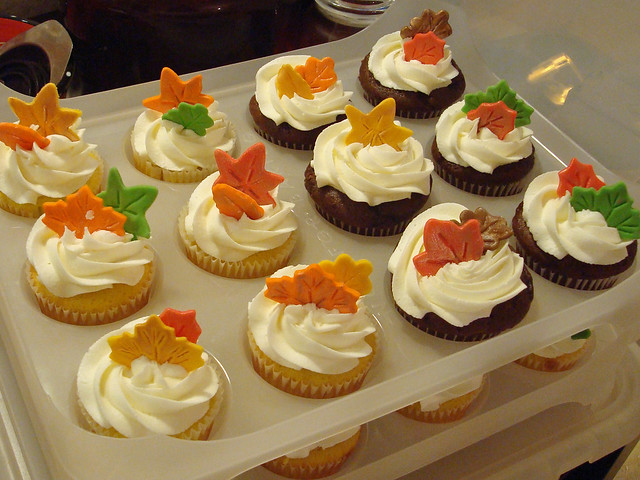
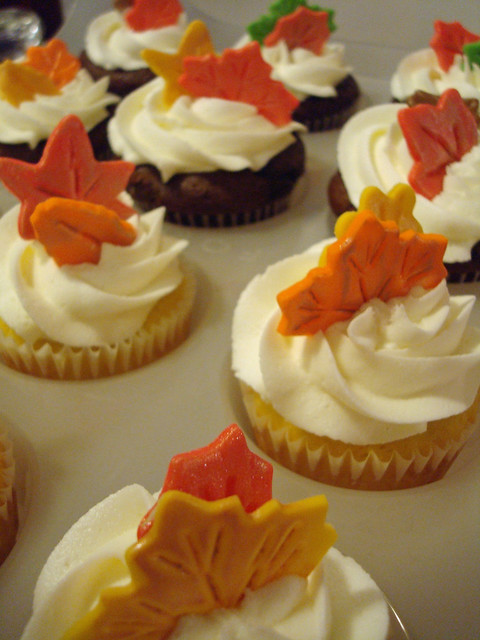
And I added 24 cupcakes to go with it. She picked the most delicious flavors.

Kayleen's wedding cake Oct 2010

Decadent chocolate with peanut butter cups baked in and peanut butter whipped butter cream in between the layers of cake AND lemon cake with raspberry filling. And then the whole thing covered in vanilla butter cream. Delicious!

Tuesday, September 21, 2010

Noah's First Birthday Cake

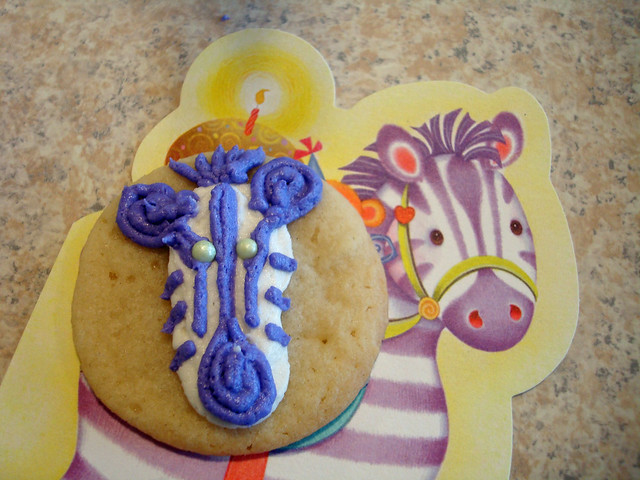
Noah's first birthday party had a jungle safari theme. It took me a while to decide how I might turn this idea into a fun cake for a little boy. The invitation was a great inspiration, so I started with a purple zebra on a round sugar cookie...

Noah's first birthday

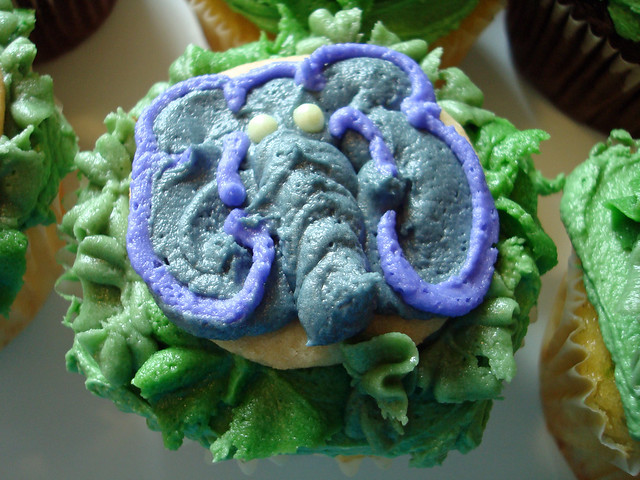
...and then added an elephant....

Noah's first birthday

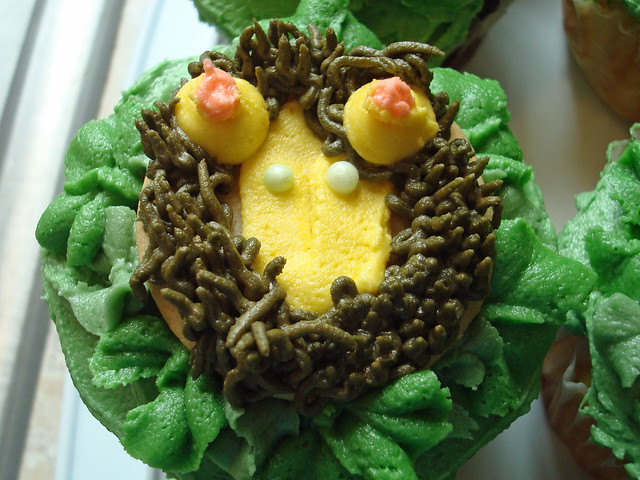
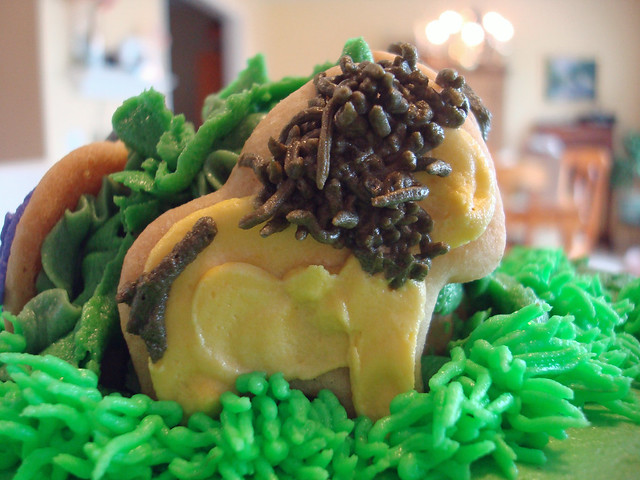
...and a lion...

Noah's first birthday

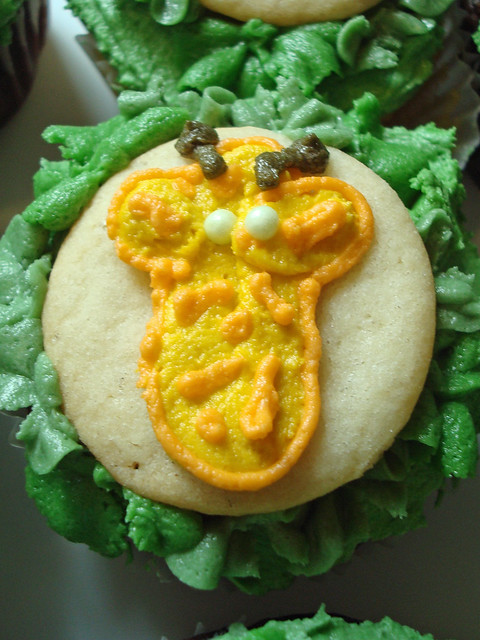
...and a goofy giraffe!

Noah's first birthday

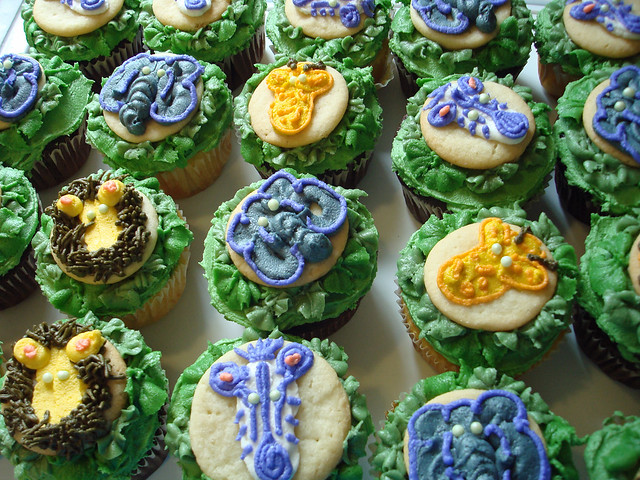
I placed them all on cupcakes for the little ones to enjoy.

Noah's first birthday

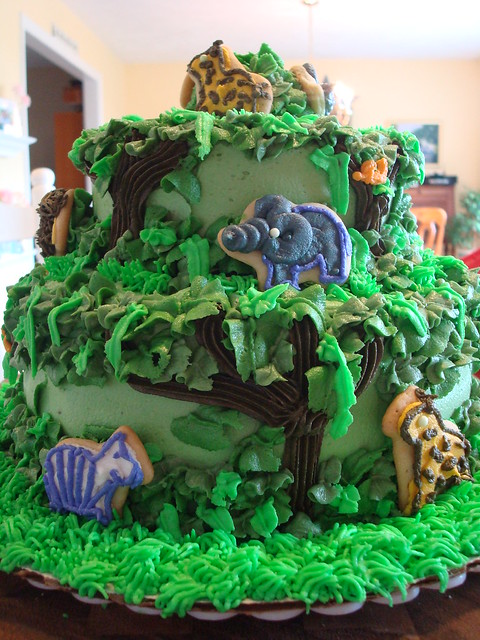
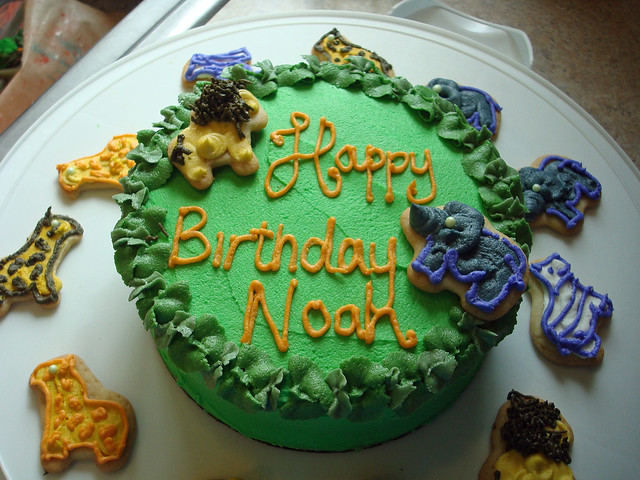
Then I made some other shaped cookies and placed them in the cake jungle.

Noah's first birthday

This zebra was not as cute,

Noah's first birthday


... but I do like how the lions came out!

Noah's first birthday

And of course I made a smash cake for the birthday boy!

Noah's first birthday

Monday, August 16, 2010

Stephie B's Wedding Cupcakes

My sister-in-law recommended me to her friend to do her wedding cupcakes.

Steph's Wedding Cupcakes

She had the most fun and vibrant colors.

Steph's Wedding Cupcakes

She asked for 150 vanilla cupcakes

Steph's Wedding Cupcakes

with fun designs on them

Steph's Wedding Cupcakes

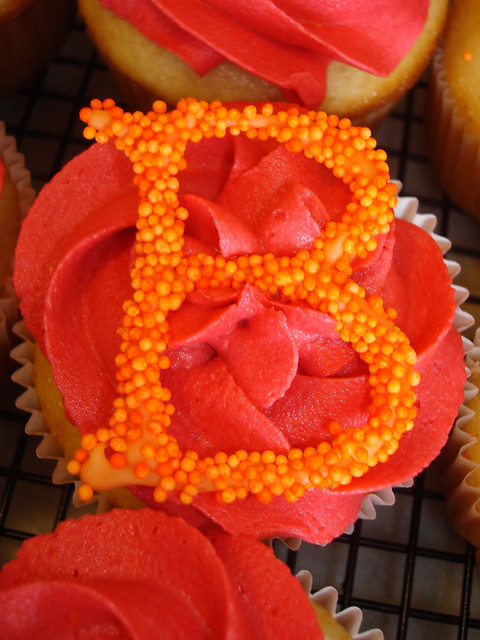
and some with their monogram.

Steph's Wedding Cupcakes

I had a lot of fun playing with different fonts for their last initial.

Steph's Wedding Cupcakes

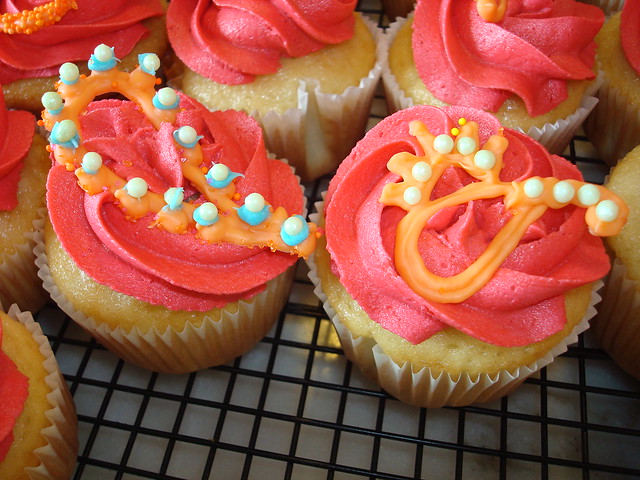
I used candy melts

Steph's Wedding Cupcakes

in a piping bag

Steph's Wedding Cupcakes

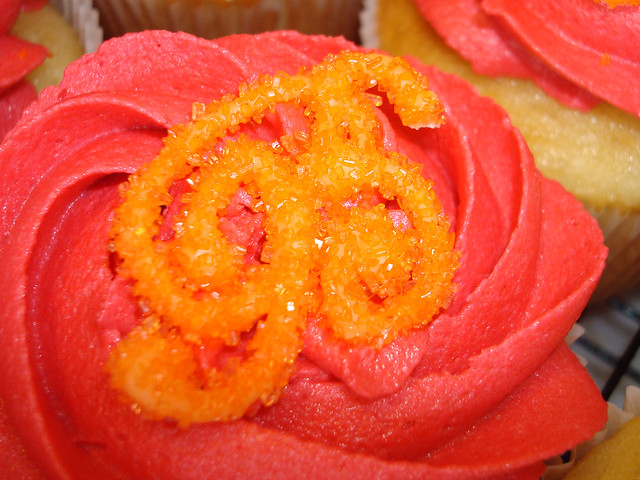
and played with different sanding sugars

Steph's Wedding Cupcakes

and nonpareils.

Steph's Wedding Cupcakes

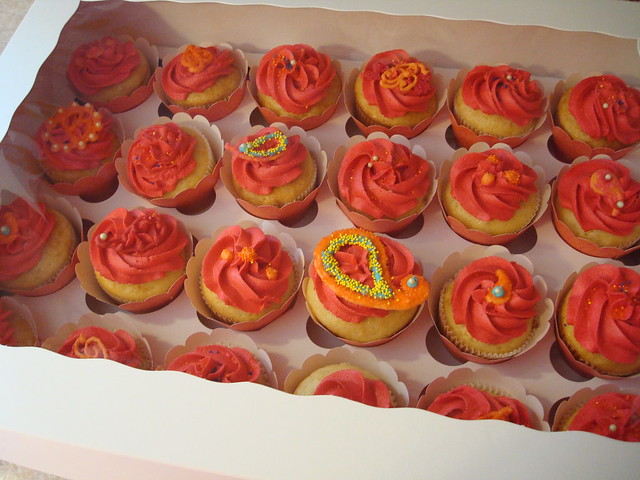
And made sure she got some extras

Steph's Wedding Cupcakes

to freeze for her first anniversary

Steph's Wedding Cupcakes

or taste test before the big party!

Tuesday, June 8, 2010

Mom's Birthday Cake and Cupcakes

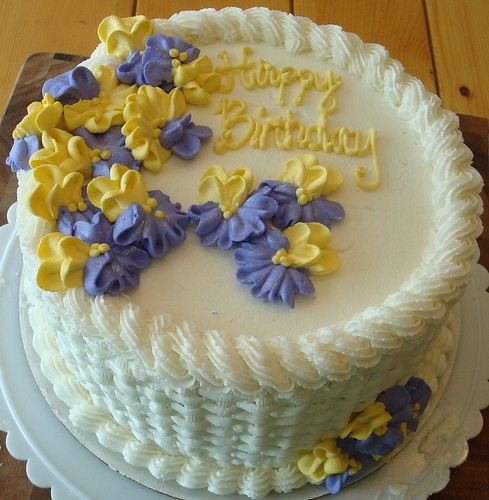
My mother loves pansies.

Loves them.

So they were the obvious flower of choice for her birthday cake.

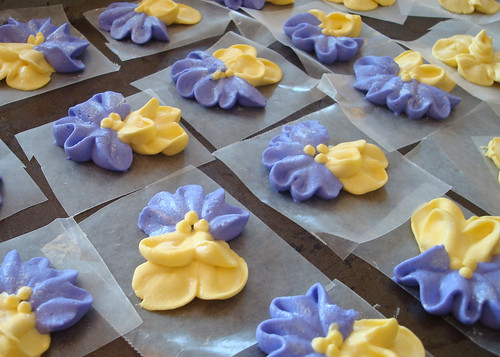
I started by making royal icing pansies.

Mom's Birthday Cake

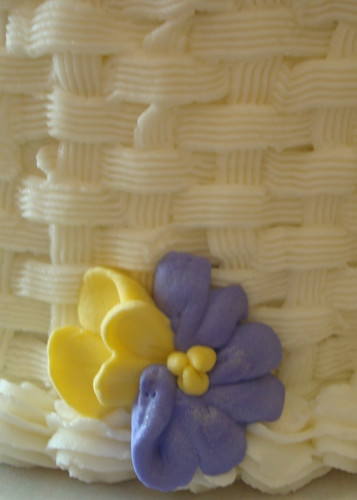
And then basted her cake with butter cream and added a basket weave to the sides.

Mom's Birthday Cake

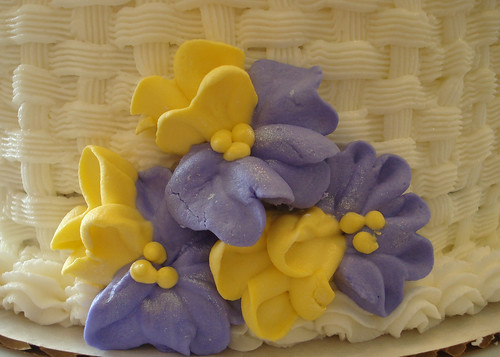
And added some of the pansies.

Mom's Birthday Cake

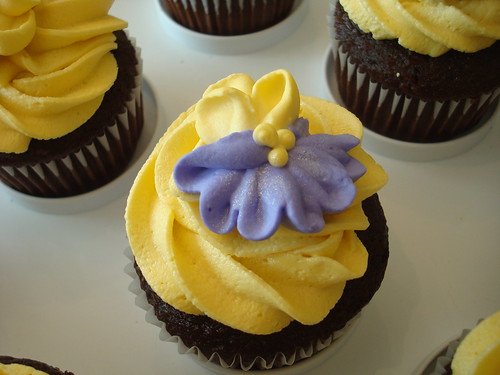
I added some cupcakes

Mom's Birthday Cake

to compliment the display

Mom's Birthday Cake

and finished decorating the top of the cake.


Mom's Birthday Cake

Happy Birthday Mom, I hope you enjoyed your special day, your party and your cake!

Mom's Birthday Cake

Thursday, April 8, 2010

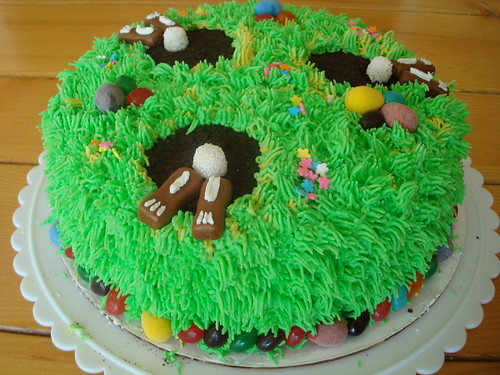
Easter Bunny Cake

I found inspiration here again for Easter!

DSC05698

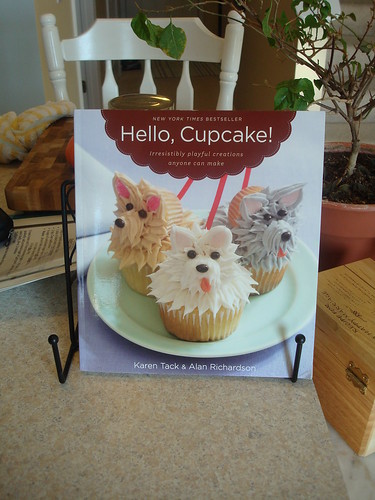
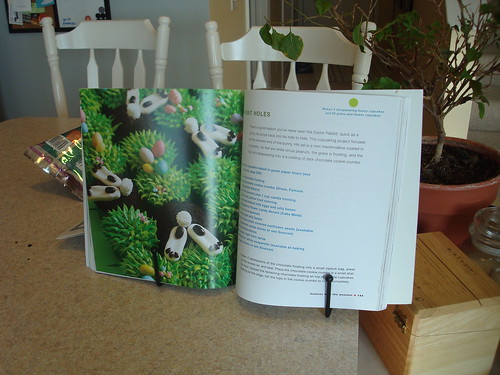
Specifically on this page....how could I resist?

Hello Cupcake!

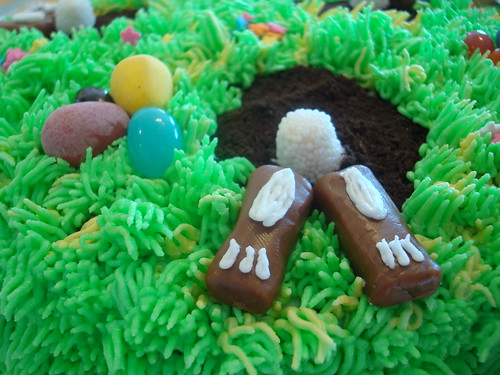
But instead of cupcakes, I tweaked it a little and made a cake!

Easter Bunny Cake

And I couldn't find circus peanuts for the bunny's feet, so I used tootsie rolls.

Easter Bunny Cake

Sunday, February 7, 2010

How to Fill Cupcake Pans

I always have trouble filling cupcake tins. It seems that no matter how careful I am I always end up with batter all over the pan. I've heard more than once to use a giant zip-top freezer bag as if it were a piping bag. I think its a great idea and here's how I do it!

1. Place a 1 gallon zip-top freezer bag inside a bowl and fold the zip top down. The zip-top freezer bag idea is excellent, but getting the batter from the bowl to the bag has been messy in the past for me. Until, that is, I figured out that if I put the bag inside a bowl, it would hold the bag up and open for me, especially once the bag became full of batter. No more bags tipping over and half your batter spilling all over the counter tops! I also fold the zipper top down over itself a few times. This helps the top of the bag keep an open shape. It also helps the integrity of the zipper; when it is folded over it is protected from spills and will have a watertight seal when you are ready to zip it shut.

filling bag for cupcakes

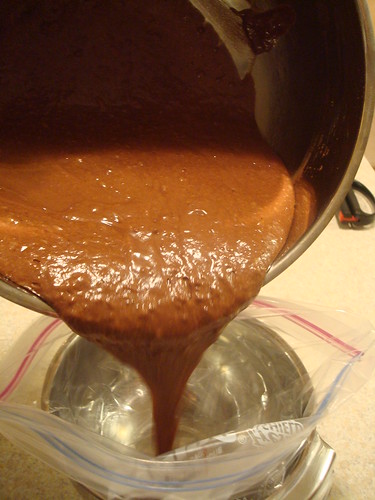
2. Pour your batter into the bag. You will be glad you have that bowl holding your bag upright now because you will have both hands and your undivided attention to make sure all of the batter makes it into the bag.

filling bag for cupcakes

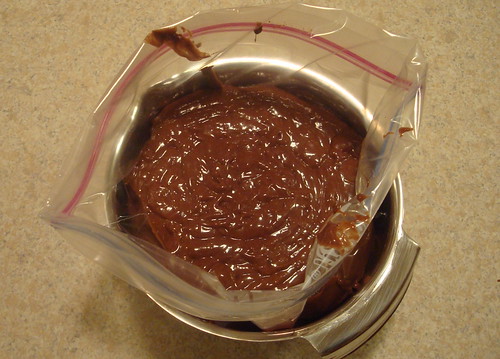
3. Now you're glad you folded the top over, cause you dribbled anyway. I always do, even when I'm not pouring with one hand and holding the camera with the other. It happens; that's why you folded the top over.

filling bag for cupcakes

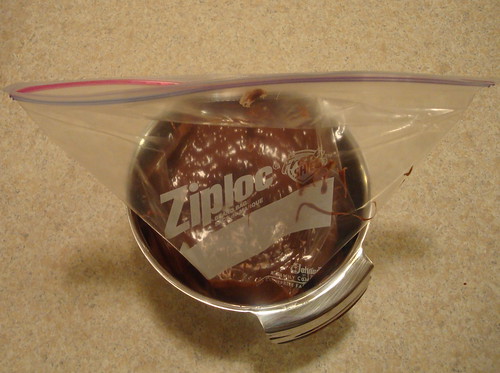
4. Unfold the top, zip it almost all the way together leaving a small space open at one end. With just a small opening left, squeeze the air out the bag, then zip it completely shut. Now's your chance to wipe off the bag if you had any spills, otherwise, you are going to get it all over your hands.

filling bag for cupcakes

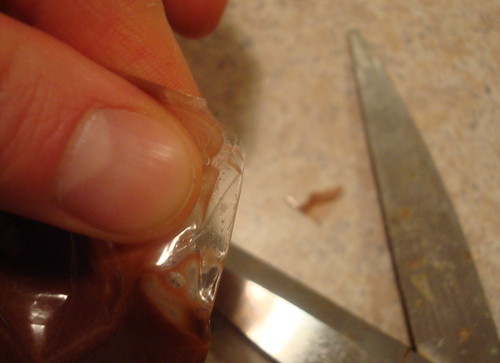
5. Snip a corner. If you sealed your bag properly you can pick it up out of the bowl and tip it upside down, moving the batter away from one of the bottom corners. Pinch the corner and snip just a small amount off, leaving a hole. If the snip is too large, the batter will come pouring out and you'll have no control over it. If the snip is too small the batter will barely come out at all, temping you to squeeze the bag harder, and that's just an accident waiting to happen.

snip the tip of the bag

6. Fill your cups. While you are still pinching that end shut, turn the bag right side up and let the batter flow back towards the open end. When you are ready, let go of your pinch and fill the cups. You can pinch the end shut when moving from cup to cup or just time your drips carefully. Squeeze, roll, fold and scrunch your bag to get every little last drop of batter out. Enjoy an easy clean up!
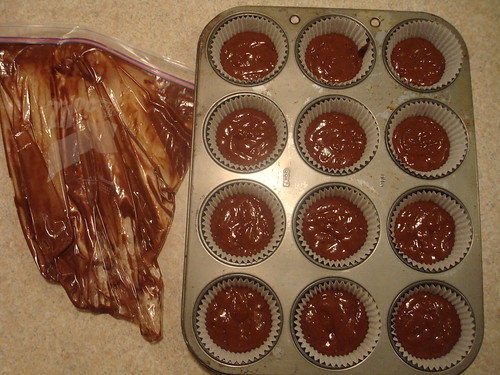
filled cupcake pan

I recommend freezer bags over regular storage bags. They are more durable and they stand up better during filling.

Monday, January 25, 2010

Put It All Together And What Do You Get?

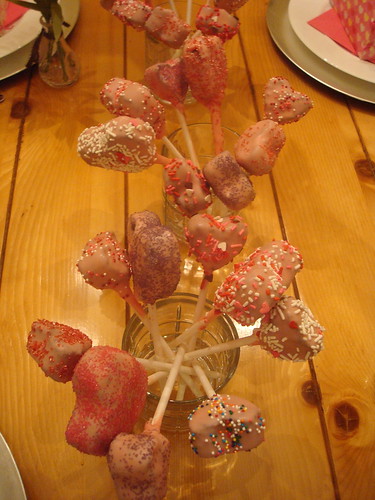
The last few posts I have shown you how to make a Chain Garland, a Satin Ribbon Garland, Cake Pops and Paper Baskets.

But what I was really showing you, little by little, was how I was pulling together a small dinner party for some very special friends.

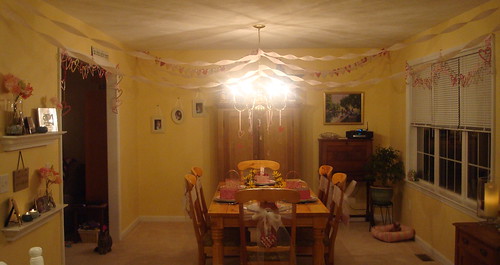
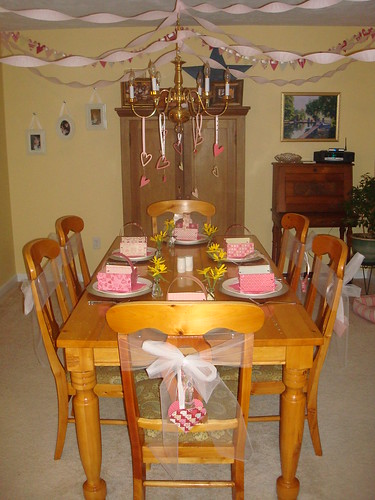
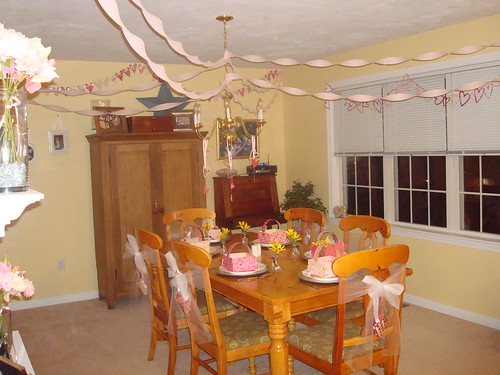
Put them all together (with a few extra touches) and this is what you get:

Valentine's Party

I added some crepe paper, some small hearts hanging from ribbons on the chandelier and some white tulle and colorful ribbon on the chairs. Then I set the table with the paper baskets for the Valentine exchange.

Valentine's Party

All in all, this whole room transformation was made with one pack of scrapbook paper, ribbon and tape. I added small embellishments like crepe paper and pink party napkins, but overall, the decorations and food were made by me.

Cake Pops

The whole space cost me less than $30 dollars and it created a mood and theme, welcomed my guests and made them feel as though I had gone out of my way just for them.

Valentine's Party