Showing posts with label piping. Show all posts

Saturday, January 22, 2011

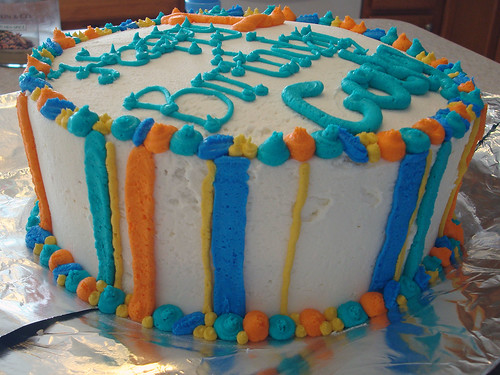
Cody's First Birthday Cake

Today is our friend Cody's very first birthday party. He turned one yesterday and his sweet mommy asked me to make his cake!

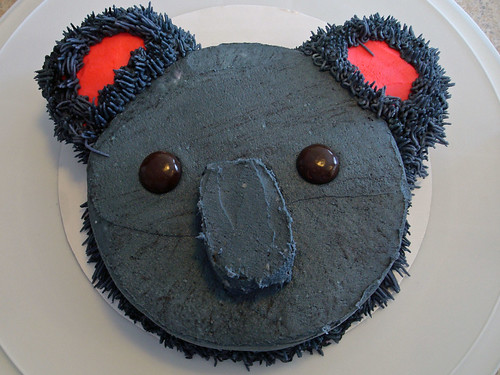
She gave me free reign for design but mentioned that Cody reminds her of a little koala.

And she wanted one cake to cut...

Cody's 1st Birthday Cake

9" vanilla cake with vanilla frosting
The colors in the picture below are the most true to life.


Cody's 1st Birthday Cake

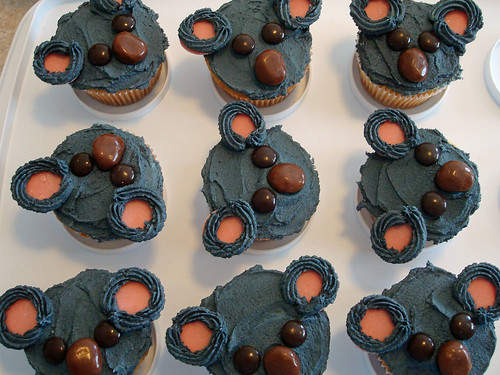
some cupcakes for the kiddos

Cody's 1st Birthday Cake

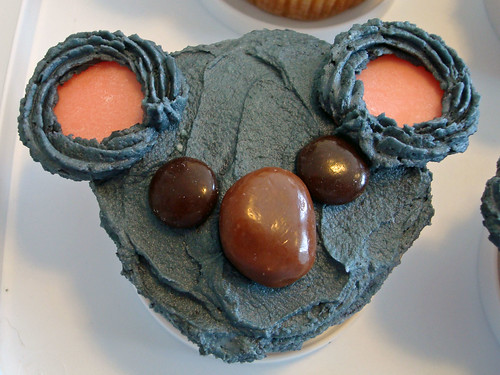
Vanilla cupcakes with vanilla frosting.
The ears are pink candy melts, the eyes are brown m&m's
and the noses are milk duds.


Cody's 1st Birthday Cake

and a smash cake for Cody.

Cody's 1st Birthday Cake

6" round vanilla cake with vanilla frosting.
The ears and nose are shaped cupcakes
and the eyes are junior mints.

Monday, August 16, 2010

Stephie B's Wedding Cupcakes

My sister-in-law recommended me to her friend to do her wedding cupcakes.

Steph's Wedding Cupcakes

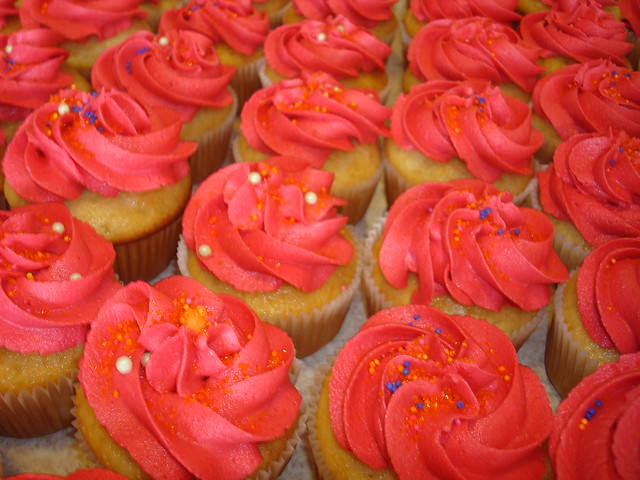
She had the most fun and vibrant colors.

Steph's Wedding Cupcakes

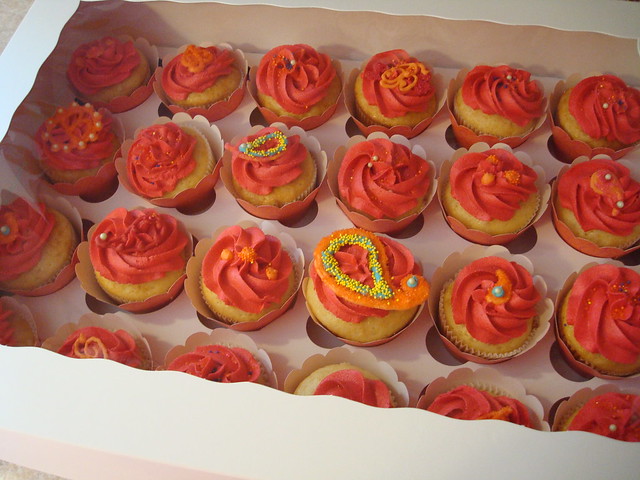
She asked for 150 vanilla cupcakes

Steph's Wedding Cupcakes

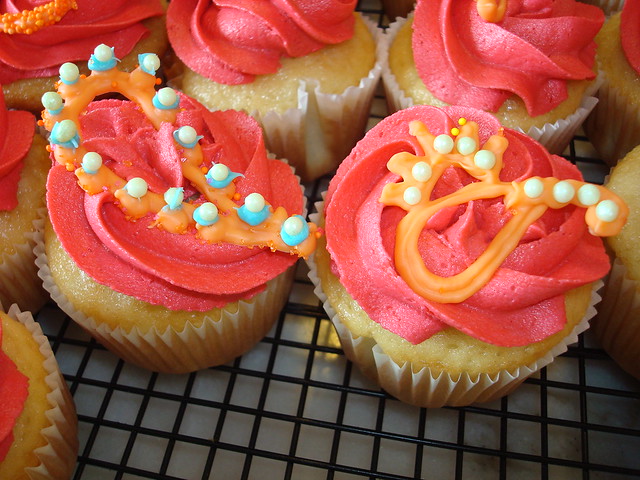
with fun designs on them

Steph's Wedding Cupcakes

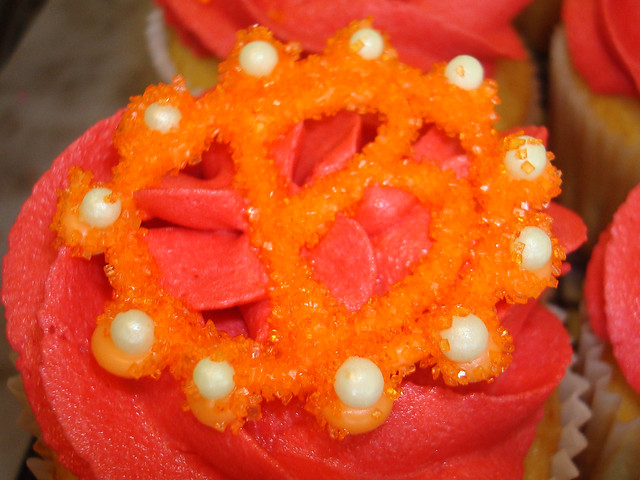
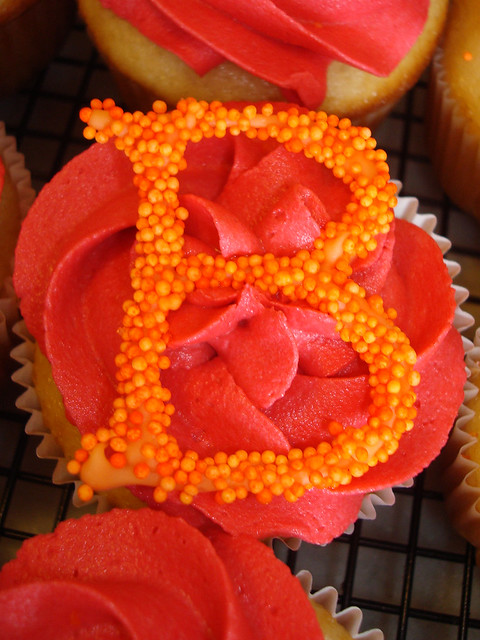
and some with their monogram.

Steph's Wedding Cupcakes

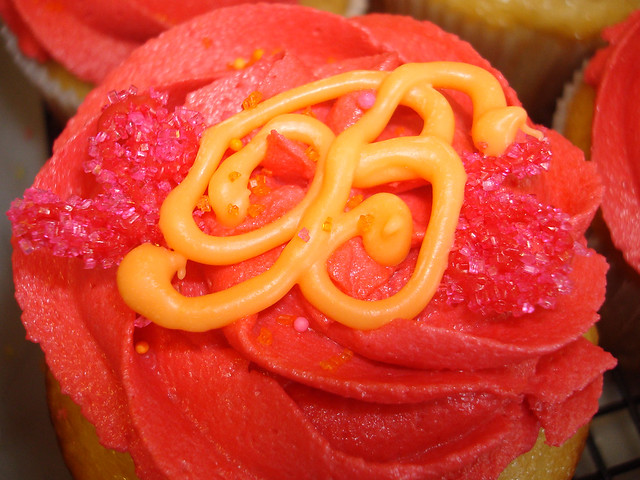
I had a lot of fun playing with different fonts for their last initial.

Steph's Wedding Cupcakes

I used candy melts

Steph's Wedding Cupcakes

in a piping bag

Steph's Wedding Cupcakes

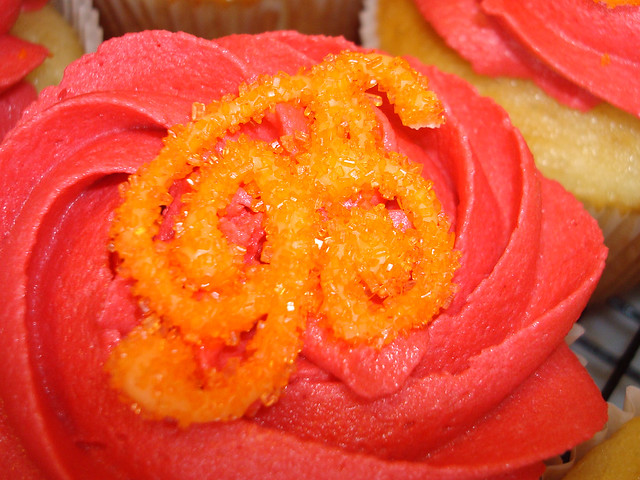
and played with different sanding sugars

Steph's Wedding Cupcakes

and nonpareils.

Steph's Wedding Cupcakes

And made sure she got some extras

Steph's Wedding Cupcakes

to freeze for her first anniversary

Steph's Wedding Cupcakes

or taste test before the big party!

Thursday, April 8, 2010

Easter Bunny Cake

I found inspiration here again for Easter!

DSC05698

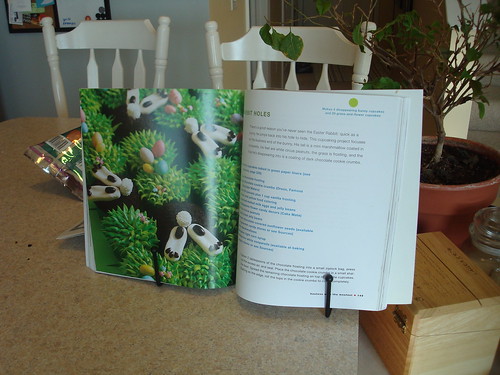
Specifically on this page....how could I resist?

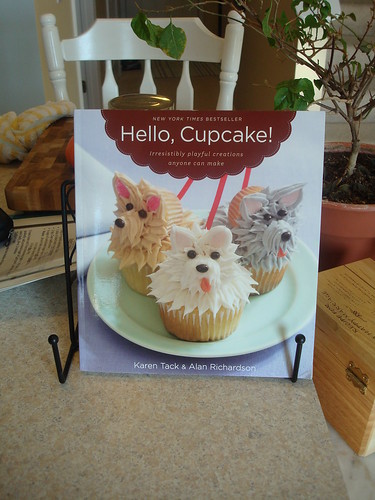
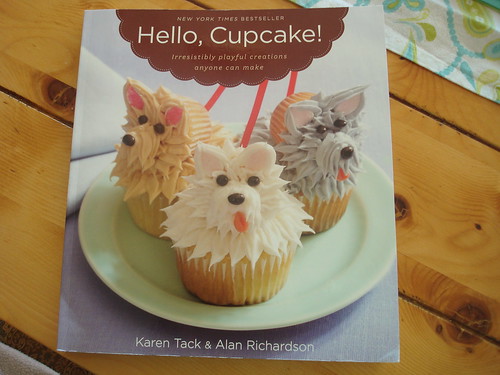
Hello Cupcake!

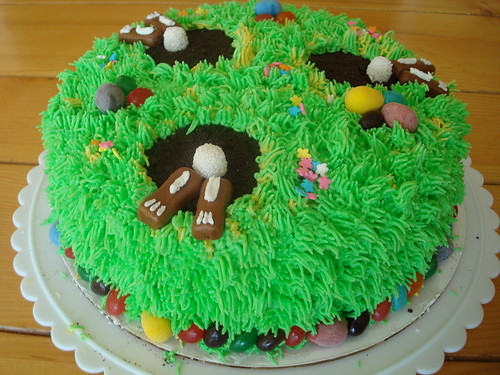
But instead of cupcakes, I tweaked it a little and made a cake!

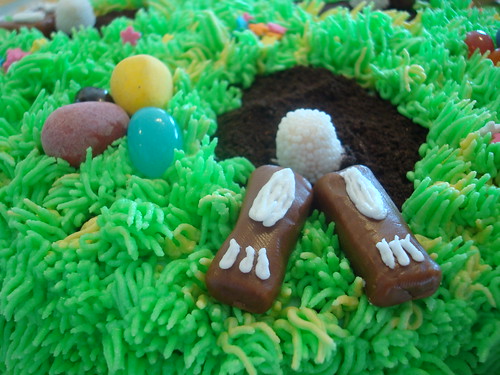
Easter Bunny Cake

And I couldn't find circus peanuts for the bunny's feet, so I used tootsie rolls.

Easter Bunny Cake

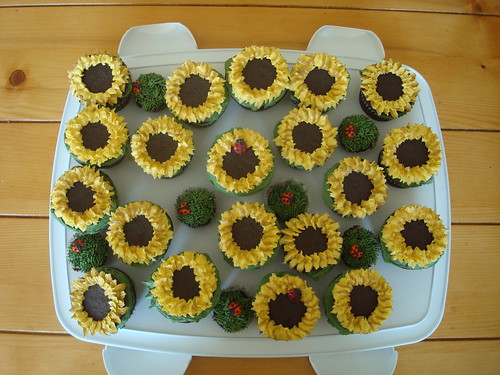
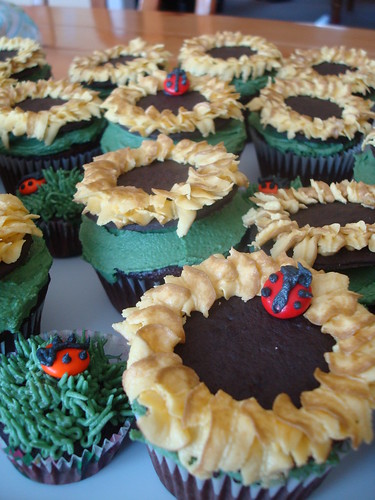
Sarah's Sunflower Birthday Cupcakes

For Sarah's birthday I drew inspiration from one of my favorite Christmas presents:

Hello Cupcake!

There is nothing like a good suggestion to get your creative juices flowing!

Sarah's Sunflower Birthday Cupcakes

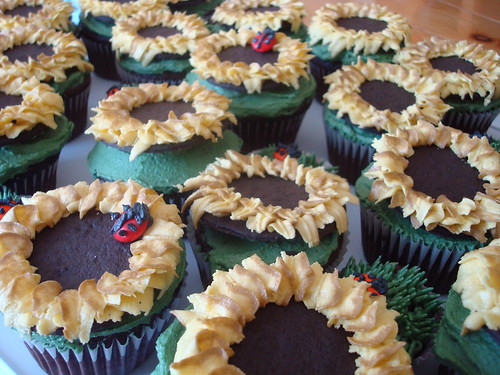
Sarah loves Sunflower, so this was an obvious choice.

Sarah's Sunflower Birthday Cupcakes

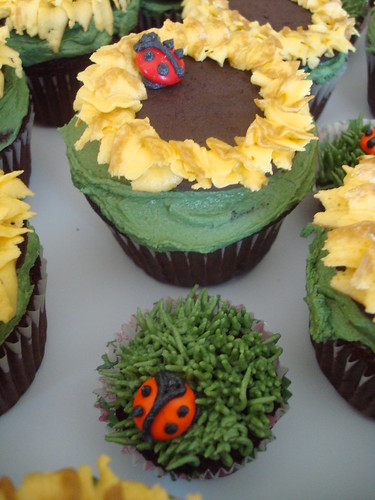
I'm not 100% sure how she feels about ladybugs, but they were too cute to leave out!

Sarah's Sunflower Birthday Cupcakes

I made some of the cupcakes miniature and covered them with "grass" to add some dimension and interest.

Sarah's Sunflower Birthday Cupcakes

And I added just a touch of brown icing in with the yellow to make the petals more realistic.

Sarah's Sunflower Birthday Cupcakes

Monday, February 15, 2010

How to Make a Filled Cupcake

So you've filled your pans, baked the cupcakes, let them cool and your house smells like heaven. Have you decided how you want to decorate your cupcakes yet?

filled cupcake pan

May I suggest an easy variation on the theme? One that provides a little surprise for the lucky recipient? Fill them with frosting!

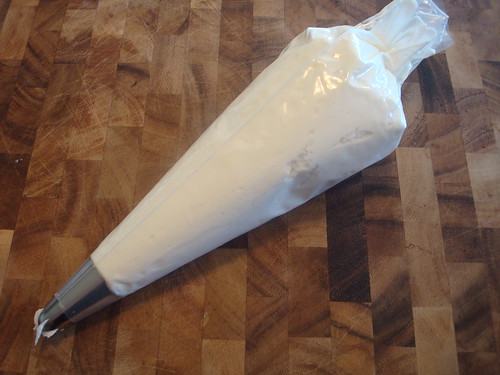
piping bag ready to go

You'll need a piping bag and a decorative tip. You don't need a decorative tip for the filling in the cupcakes, but since I am filling the cupcakes with the same frosting I am decorating them with, I used the same bag & tip for the whole thing.

Wilton tip 2D

The tip I used is over-sized. It is a Wilton 2D.

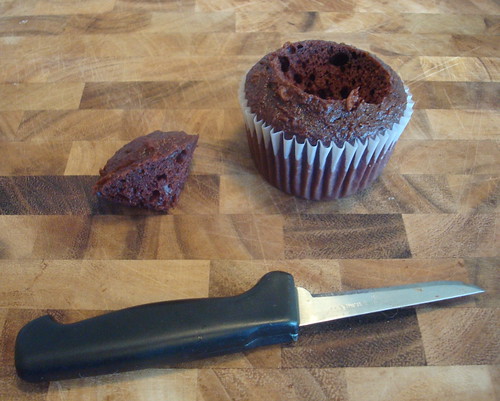
cutting for filling

Take a small sharp paring knife and cut a cone shape from the top of your cupcake. It should be fairly deep (half the depth of your cupcake). Make sure your cupcake is completely cooled before you do this or you will create for yourself a mess of crumbs.

top cut off for filling

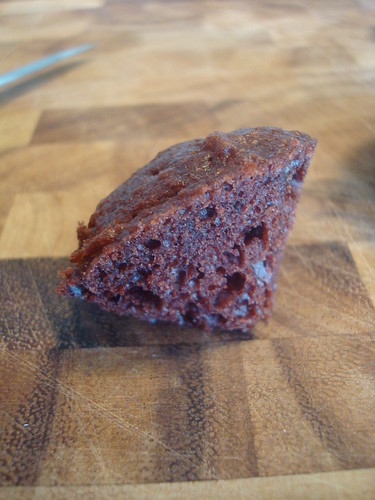
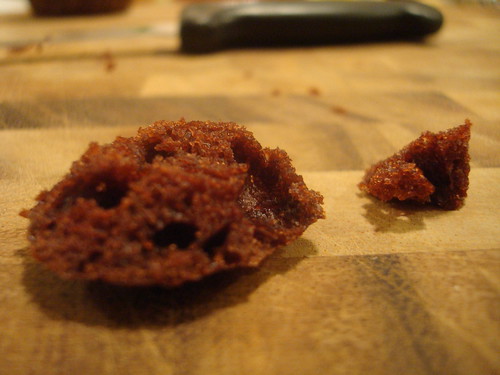
Turn the cone on its top and slice the tip off so it has a nice flat bottom. Go ahead and eat what you just cut off. You won't need it later and you deserve a taste.

cut it flat

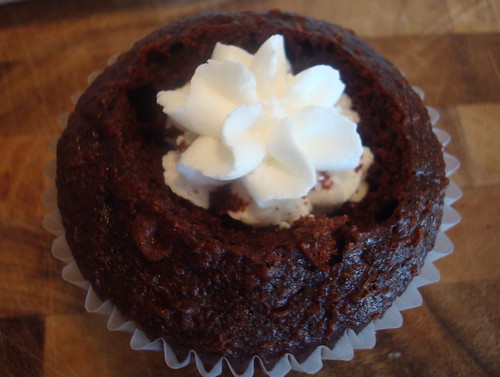
Now put your piping tip into the hole you created and fill that cupcake up!

filling cupcake

Then put your cap back on.

filled and topped

Add your frosting to the top. Using the piping bag to frost a filled cupcake is the best way to go because it will not pull and tug at the loose cupcake cap the same way a spatula might if you were to baste the cupcake.

cupcakes

Add some decorations of your choice.

cupcakes

Or a lot of them, if you want to.

cupcakes

No one will know there is a delicious surprise inside unless you draw inspiration from a famous filled cupcake. That might give them a little hint.

knockoff

Now make sure you practice your most humble "thank you".

cupcakes

You put in a little bit of work for a big impact and your cupcakes are going to be a hit!

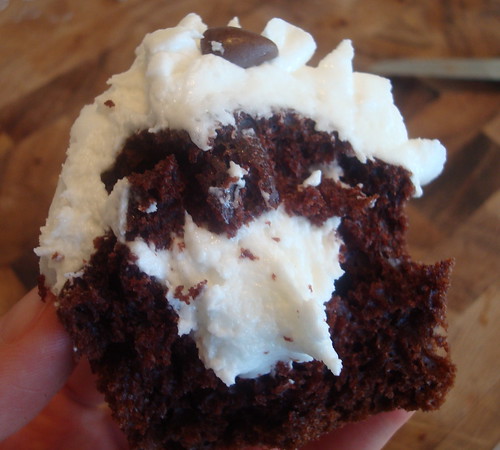
inside filled cupcake


Sunday, February 7, 2010

How to Fill Cupcake Pans

I always have trouble filling cupcake tins. It seems that no matter how careful I am I always end up with batter all over the pan. I've heard more than once to use a giant zip-top freezer bag as if it were a piping bag. I think its a great idea and here's how I do it!

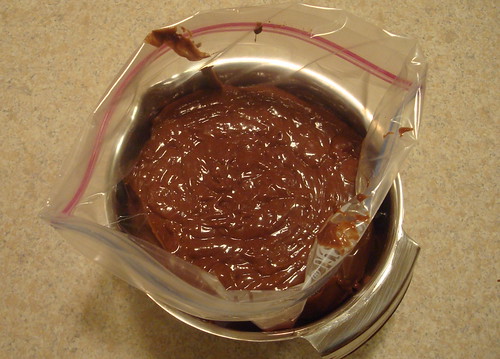
1. Place a 1 gallon zip-top freezer bag inside a bowl and fold the zip top down. The zip-top freezer bag idea is excellent, but getting the batter from the bowl to the bag has been messy in the past for me. Until, that is, I figured out that if I put the bag inside a bowl, it would hold the bag up and open for me, especially once the bag became full of batter. No more bags tipping over and half your batter spilling all over the counter tops! I also fold the zipper top down over itself a few times. This helps the top of the bag keep an open shape. It also helps the integrity of the zipper; when it is folded over it is protected from spills and will have a watertight seal when you are ready to zip it shut.

filling bag for cupcakes

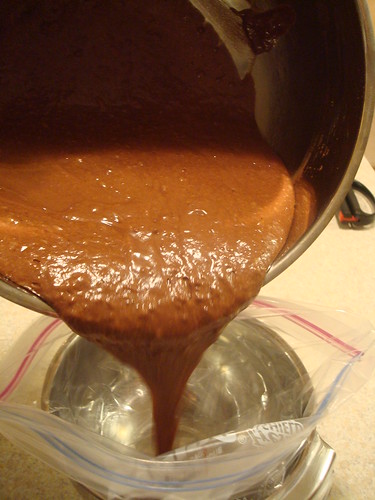
2. Pour your batter into the bag. You will be glad you have that bowl holding your bag upright now because you will have both hands and your undivided attention to make sure all of the batter makes it into the bag.

filling bag for cupcakes

3. Now you're glad you folded the top over, cause you dribbled anyway. I always do, even when I'm not pouring with one hand and holding the camera with the other. It happens; that's why you folded the top over.

filling bag for cupcakes

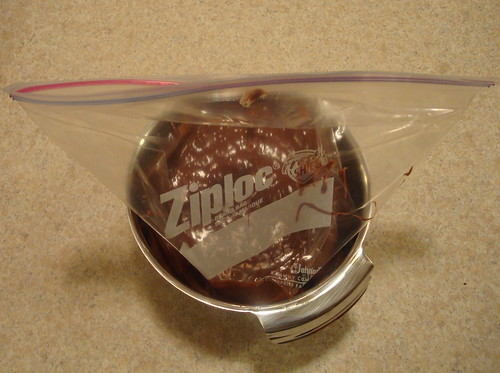
4. Unfold the top, zip it almost all the way together leaving a small space open at one end. With just a small opening left, squeeze the air out the bag, then zip it completely shut. Now's your chance to wipe off the bag if you had any spills, otherwise, you are going to get it all over your hands.

filling bag for cupcakes

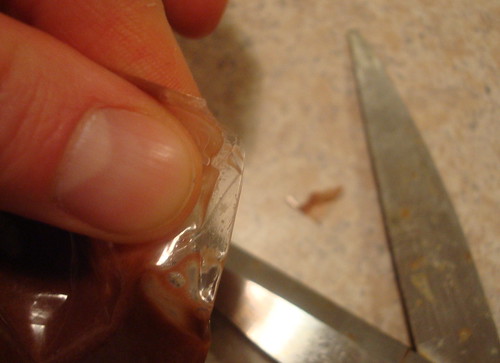
5. Snip a corner. If you sealed your bag properly you can pick it up out of the bowl and tip it upside down, moving the batter away from one of the bottom corners. Pinch the corner and snip just a small amount off, leaving a hole. If the snip is too large, the batter will come pouring out and you'll have no control over it. If the snip is too small the batter will barely come out at all, temping you to squeeze the bag harder, and that's just an accident waiting to happen.

snip the tip of the bag

6. Fill your cups. While you are still pinching that end shut, turn the bag right side up and let the batter flow back towards the open end. When you are ready, let go of your pinch and fill the cups. You can pinch the end shut when moving from cup to cup or just time your drips carefully. Squeeze, roll, fold and scrunch your bag to get every little last drop of batter out. Enjoy an easy clean up!
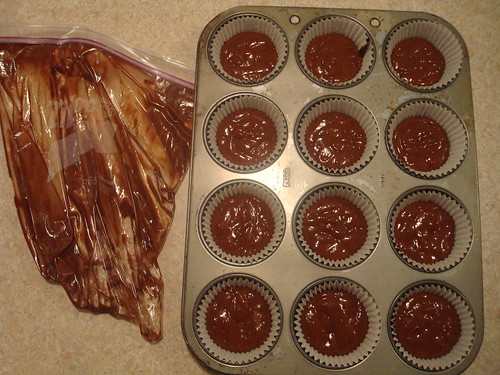
filled cupcake pan

I recommend freezer bags over regular storage bags. They are more durable and they stand up better during filling.