


and after a Google search, learned they are all made from a free pattern provided by Spool. (click here for Spool's website and find the bird pattern on the left sidebar, or click here) They even have a whole Flickr page dedicated to them! I fell in love with them! I love the fantastic prints on the fabric and how the composition is really simple and incorporates the natural branches.
The directions are on Spool's pattern, but I thought I'd give you a play-by-play with pictures! The Spool pattern is for one size bird, but I used a copier to enlarge and shrink the pattern so that I would have three different sized birds.
I cut out the three different sized patterns; an enlarged bird, 2 original sized birds (because I knew I wanted the most of this size and wasn't sure the paper pattern would hold up to repeated use) and a smaller bird.
I cut out the three different sized patterns; an enlarged bird, 2 original sized birds (because I knew I wanted the most of this size and wasn't sure the paper pattern would hold up to repeated use) and a smaller bird.
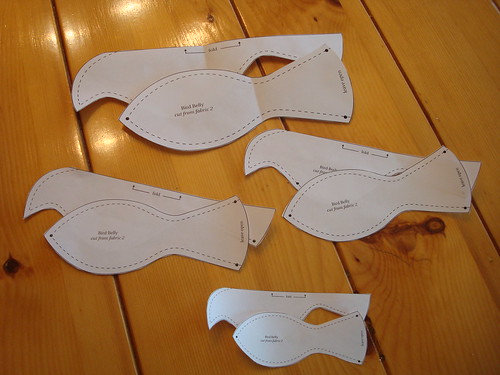
For the purposes of photographing and showing you step by step, I thought it would be easier to use the enlarged bird pattern. The pattern is enlarged to scale, however, so this should be identical, proportion-wise, to the original pattern.
The beauty of this project is that it could possibly be done for free using only materials you probably already have around your house! I used scrap fabric that I already had and loved, but didn't really have enough to do much more with than this!

Scrap fabric from Amy Butler Collection
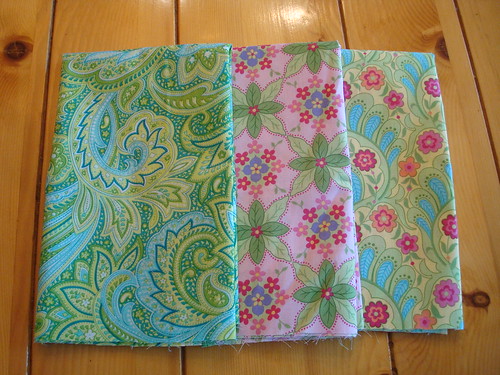
After I had made a "test" bird, I purchased some fat quarters in fabrics I wanted to use in the nursery. These were the three main fabrics/patterns.
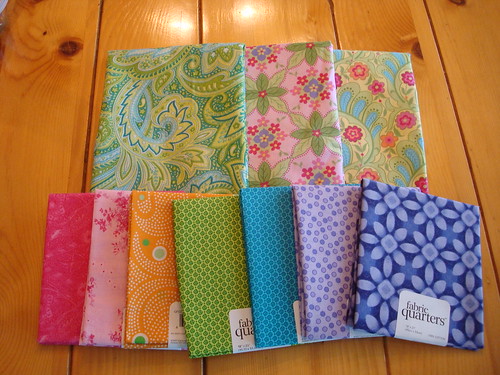
And here they are again with the additional complimentary fabrics. I'll use different combinations of these fabrics for the birds backs and bellies.
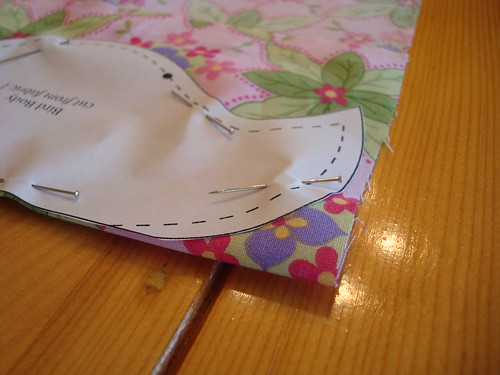
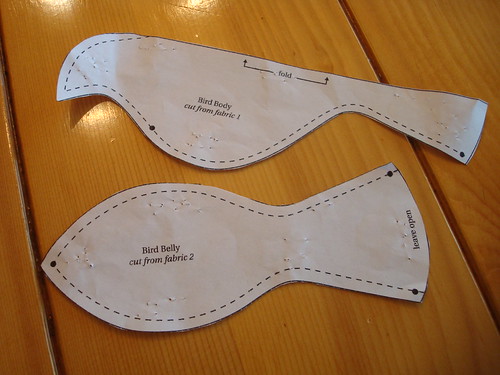
Begin by selecting the fabric you want to use for the bird's body. Fold the fabric and line up the Bird Body pattern so that the bird's back is running along the folded edge.
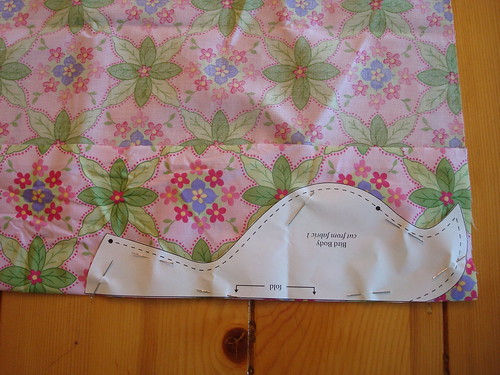
Pin it in place and cut out the bird.
For the Bird Belly, select another fabric and cut out one piece. (This does not need to be doubled or placed on a fold, so there is no photograph.) You will now have one Bird Body and one Bird Belly.
For the Bird Belly, select another fabric and cut out one piece. (This does not need to be doubled or placed on a fold, so there is no photograph.) You will now have one Bird Body and one Bird Belly.

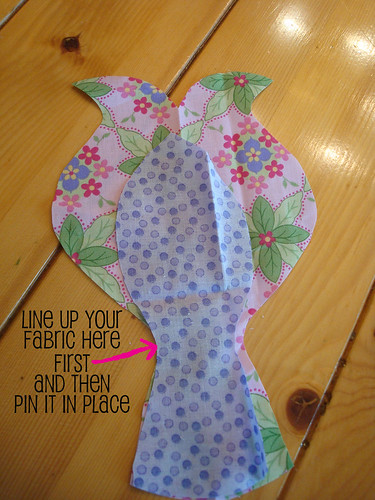
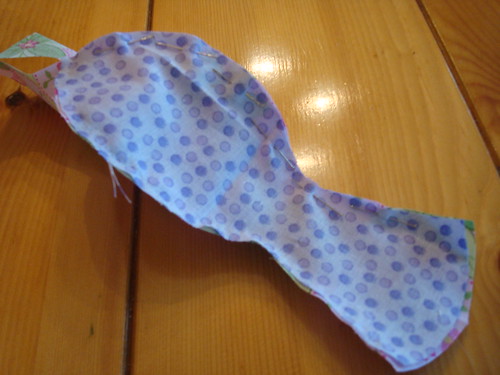
Place the two pieces right sides together (Body right-side-up and then the Belly wrong-side-up on top of it).
Slide the Belly over so that the curves of the tail on both pieces line up. Pin in place.
Slide the Belly over so that the curves of the tail on both pieces line up. Pin in place.
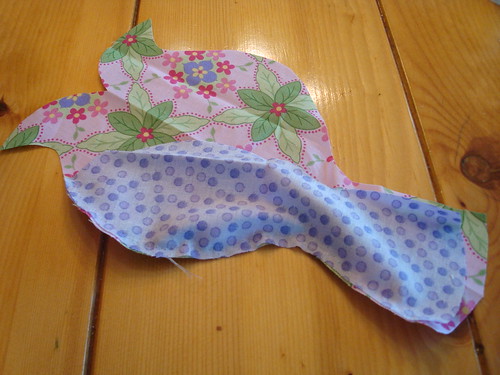
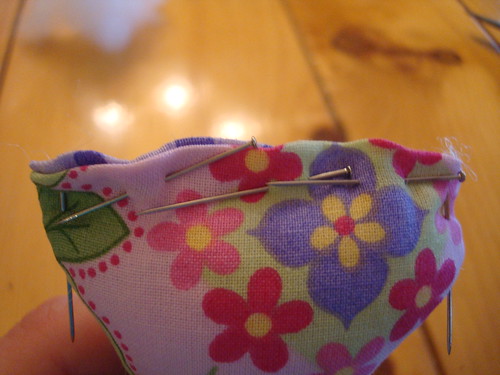
Work your way all along one side, matching the edges together and pinning in place. At this point the fabric will not lie flat - remember, your end product will be three dimensional!

Stitch all along the path of pins you have made along the edge of the fabric. I used a clear nylon quilting thread so that my stitches were guaranteed to be invisible. I also used a backstitch so that it would be a little more reinforced when I stuffed the bird later on. Place your stitches about 1/8 to 1/4 inch from the edge of the fabrics.
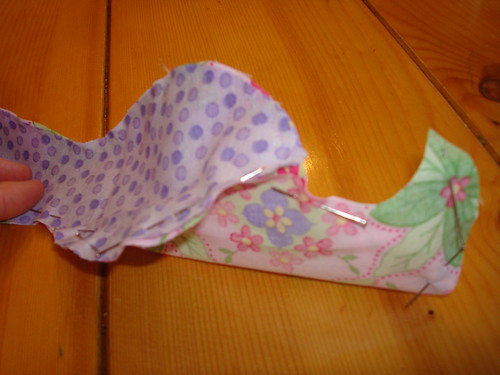
Repeat the whole process on the other side by first lining up the curve of the tail and pinning, then lining up the edges of the fabric all the way around, using the Bird Belly as your guide.
You will use the Bird Belly to know where to line up the fabrics and at the point of the belly your Bird Body fabric should naturally come together.

Once it does, line up the two edges of the Bird Body (by folding it where it was folded when you cut the pattern out of the folded fabric). This will line up the head and beak for you.
Stitch all along the length of the whole bird, starting at the tail and then stitching around the Belly and continuing to the remaining Body and around the head. Do NOT stitch the tail together!
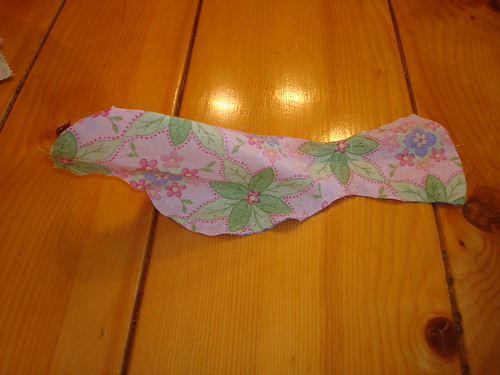
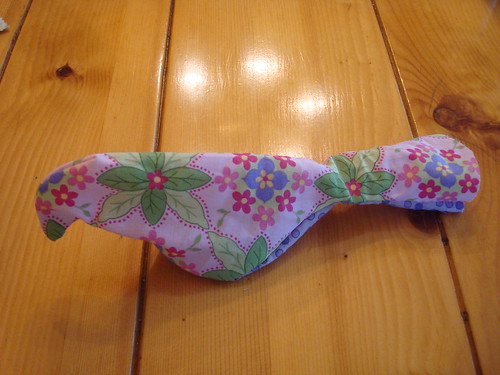
At this point you will have an inside-out un-stuffed bird.

Because you left the tail open, use this to begin turning the bird right-side-out.
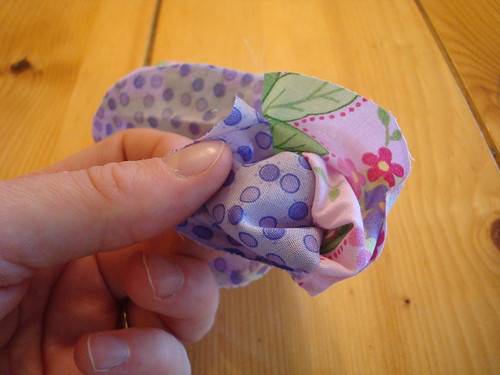
You may need a long thin object to help you turn the beak - I used sewing scissors, but be careful!
To help keep frays to a minimum, I folded the tail over and then began stuffing.
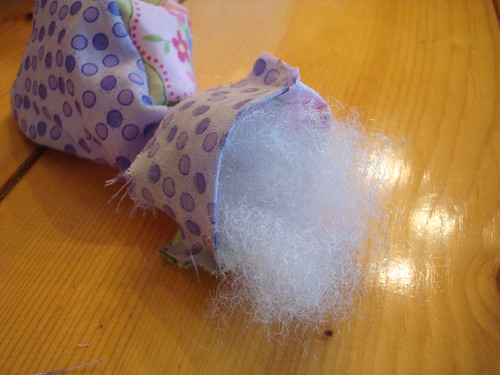
I used small amounts of poly-fiber fill that I worked all the way to the beak first (again, sometimes using scissors to help push the fibers all the way into the small beak).
Continue stuffing until you have filled the head and body and are close to filling the tail. Then, stuff the tail; being mindful of leaving some fabric to neatly stitch together to close the bird.
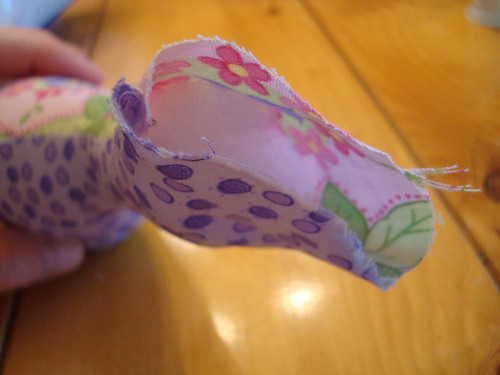
Fold your rough edges in, starting at the sides and then along the base of the tail, pinning as you go. For some variations I have seen ribbons and feathers added here to make a more dramatic tail.
Stitch along the edges to finish the bird. I used a whip stitch so that the seam resembles the
other seams (no top stitching). This is another reason I chose to use the clear nylon quilting thread.
other seams (no top stitching). This is another reason I chose to use the clear nylon quilting thread.

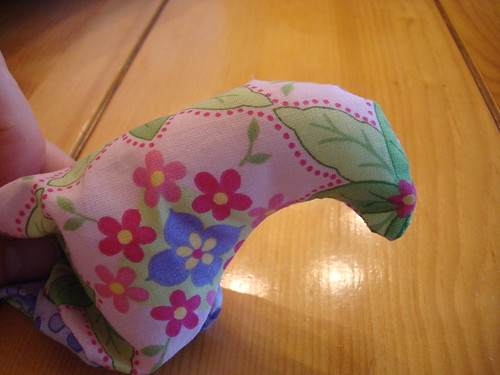
You now have a finished stuffed bird!
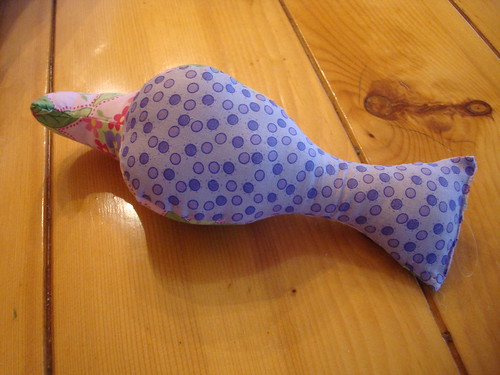
With a beautiful belly and

a beautiful back!

You can add variations to this such as eyes, wings and tail feathers. Get creative! I'll show you how to add feet in the next post, when we put the birds on a branch and balance the mobile!
For Part 2 Instructions, click here: Spool's Hand-Sewn Bird Mobile - Part 2
For Part 3 Instructions, click here: Spool's Hand-Sewn Bird Mobile - Part 3
Link to the pattern doesn't work? Read this: Michael Fulkerson's Hand Sewn Bird Mobile - UPDATE
For Part 2 Instructions, click here: Spool's Hand-Sewn Bird Mobile - Part 2
For Part 3 Instructions, click here: Spool's Hand-Sewn Bird Mobile - Part 3
Link to the pattern doesn't work? Read this: Michael Fulkerson's Hand Sewn Bird Mobile - UPDATE
Wow! Super dooper OOPER helpful :) Thanks heaps.
ReplyDeleteThank you so much. I have been looking everywhere for the pattern and now I can finally get started. I have got an old antique bird cage and I have been looking for something to put in it for ages. I'll try to do two love birds and place them in there on a branch. I am sure it'll look lovely. Thanks again!!!
ReplyDeleteThanks!! I will start right now!!
ReplyDeleteI have made loads of these and made a mobile which I hung above my baby's change mat. She loves them and lies on her change mat giggling at them every time without fail. I didn't stuff the tail as i thought that made it look odd. I replaced the stuffing in the tail with cardboard so it was stiff.
ReplyDeleteThank you for the instructions!!! Without them, I know mine would have looked like a snake!
ReplyDeletePatten link wont open
ReplyDeleteHow nice of you to share not only the pattern but the instructions! Thank you!
ReplyDelete